
Compare orthophotos
 English
  Italiano
 The OrthoCompare tool lets you compare two georeferenced orthophotos of the same area directly on the map. It is designed to highlight differences over time or between acquisitions, for example surveys taken on different dates, work in progress versus completed work, or variants of the same survey such as RGB and thermal.
The two orthophotos are displayed over the project basemap and can be compared using three modes: swipe, fade, or side by side.
The tool is available from the Tools section of the project. To run a comparison, two orthophotos must be available.
Apertura del tool e selezione delle ortofoto
1. Open the Tools section of the project.

2. Click the OrthoCompare card. The tool opens in place of the current view and the workspace splits into two halves, Left and Right.
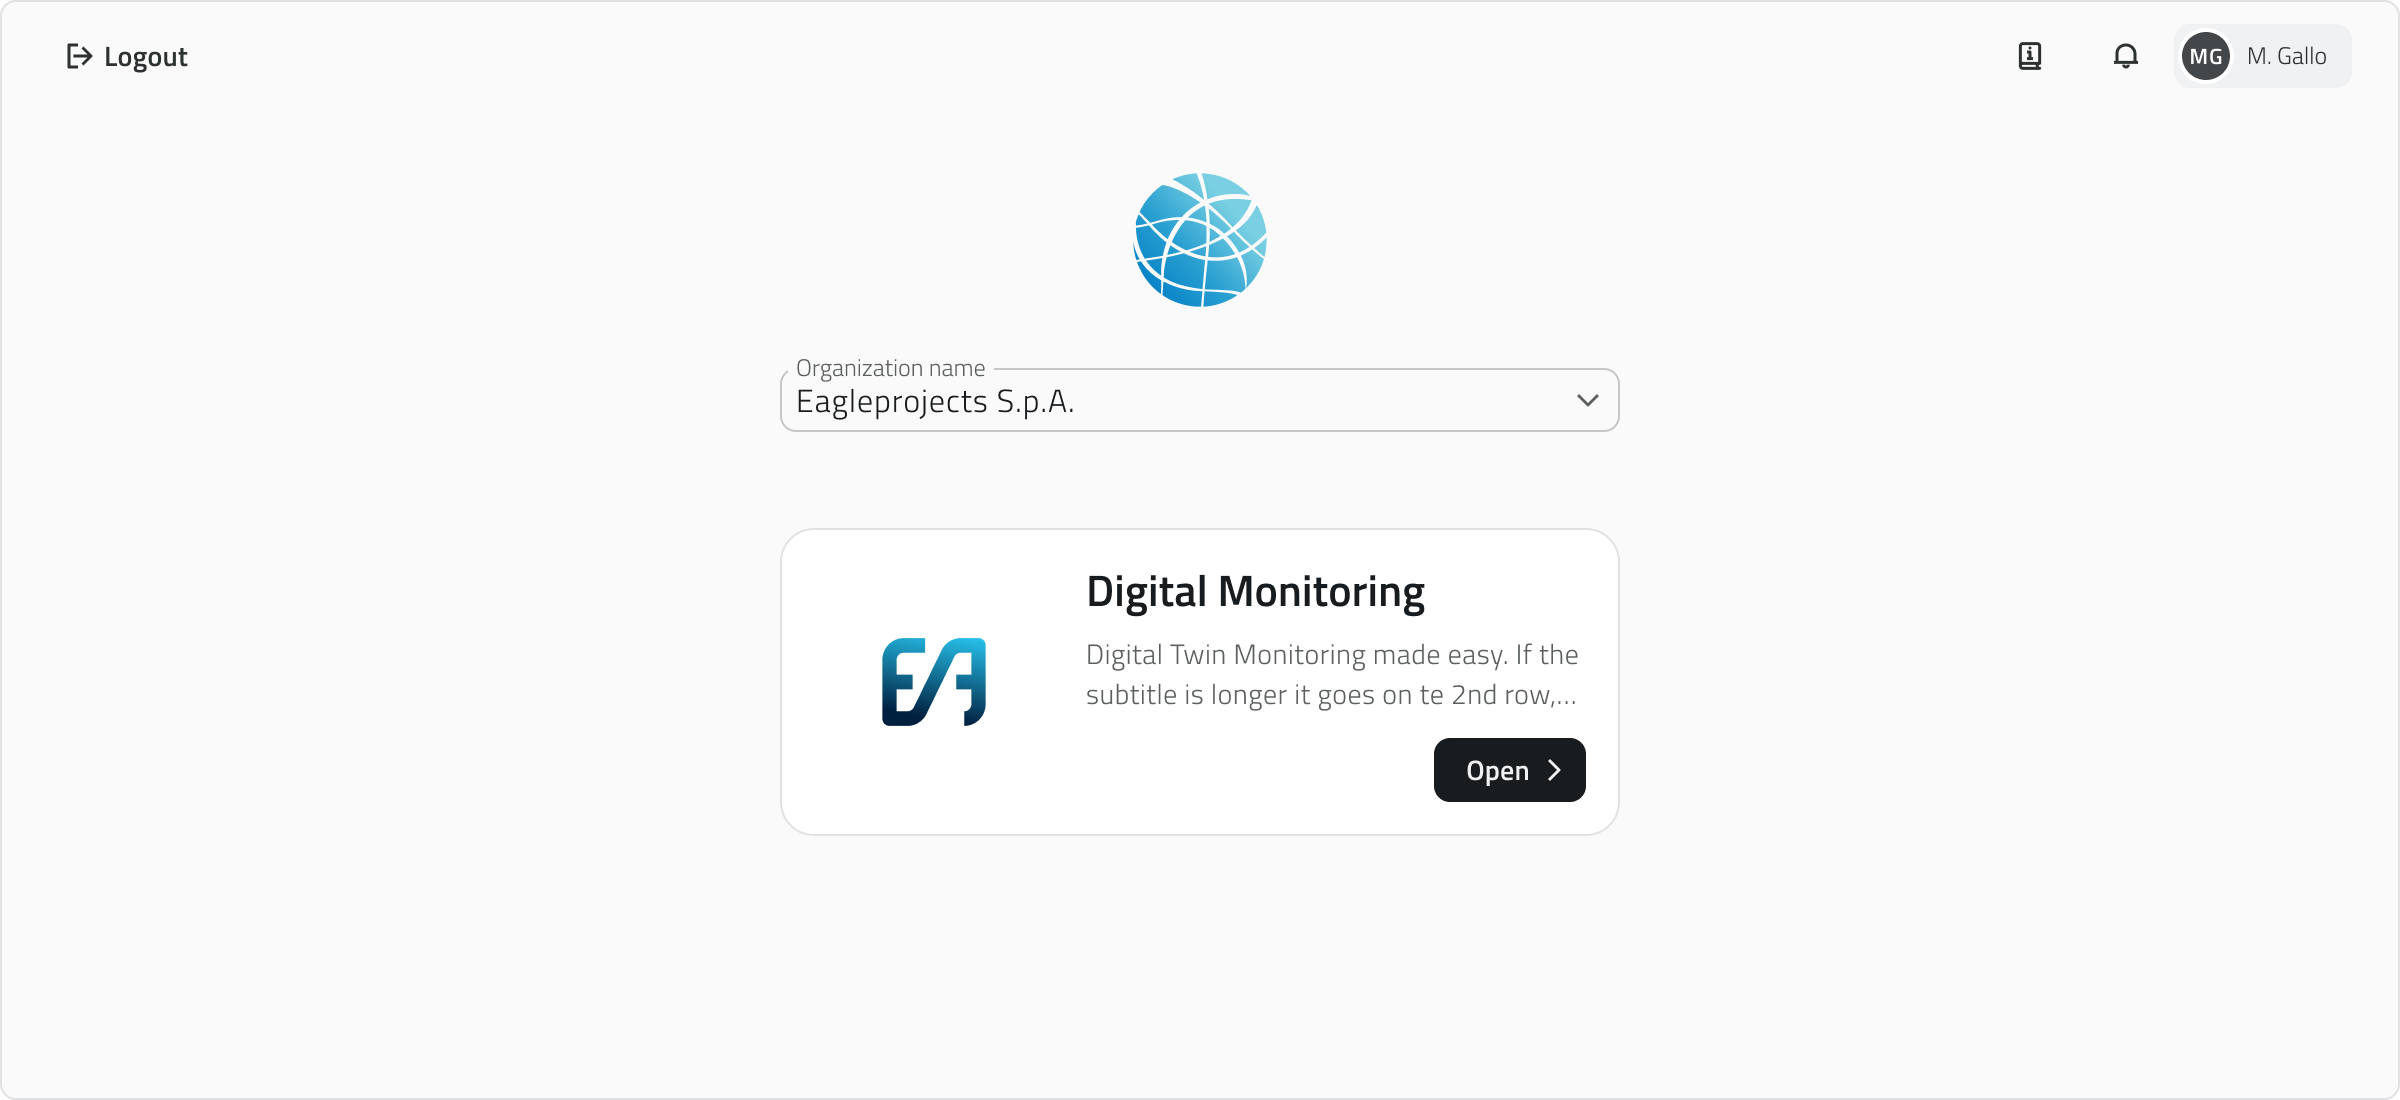
3. Click Select left orthophoto (or Select right orthophoto) to choose the orthophoto for each side. A resource viewer opens, where you can search the available orthophotos by name and preview the selected item.

4. Confirm with Apply. The chosen side fills with the selected orthophoto. Repeat the selection for the other side: once both orthophotos are selected, the comparison becomes active and its controls can be used.
Choosing a comparison mode
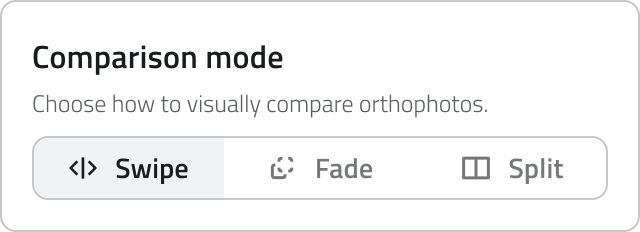
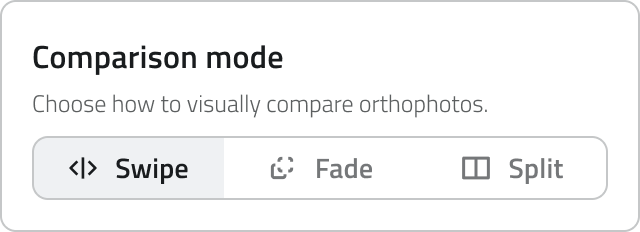
From the Comparison mode control in the side panel you can choose how the two orthophotos are compared:
- Swipe: A draggable vertical divider reveals the left orthophoto on one side and the right one on the other, over the same area. Drag the handle to move the divider.
- Fade: The two orthophotos are overlaid and a slider controls the opacity of one over the other, blending gradually between the two.
- Split: The two orthophotos are shown side by side in two synchronized panes, each labelled with its acquisition.
Showing objects on the map
The Show geometries on map switch shows or hides the inventory geometries over the imagery. When it is turned off, all geometries are hidden, regardless of their object class, so you can read the orthophoto cleanly.

Aligning the orthophotos
If the two orthophotos are not perfectly registered, you can fine-tune the right one over the left from the Alignment section, using the Shift X, Shift Y and Scale sliders. Reset alignment restores the original values.
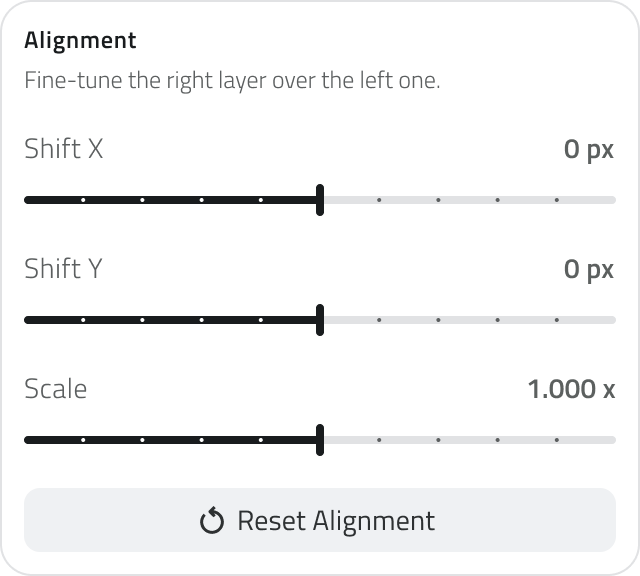
Alignment only affects the right orthophoto; the left one is used as the reference. Where the right orthophoto is reduced or shifted, the underlying basemap becomes visible.
Exiting the tool
To close the comparison, click Close compare mode on the map, or use the back button in the tool panel.
Using Collapse panel to expand the map view, or opening another section from the navigation rail, does not close the comparison: it stays active and a blue badge appears on the Tools icon. Click the icon to bring the comparison back.
Links
Confronta le ortofoto
Lo strumento Orthophoto Compare consente di confrontare due ortofoto georeferenziate della stessa area direttamente sulla mappa. È pensato per evidenziare le differenze nel tempo o tra acquisizioni diverse, ad esempio rilievi effettuati in date differenti, stato dei lavori in corso e completato, oppure varianti dello stesso rilievo come RGB e termica.
Le due ortofoto vengono visualizzate sopra la mappa del progetto e possono essere confrontate con tre modalità: swipe, dissolvenza o affiancate.
Lo strumento è disponibile dalla sezione Tools del progetto. Per eseguire un confronto devono essere disponibili due ortofoto.
Apertura del tool e selezione delle ortofoto
1. Apri la sezione Tools del progetto.

2. Clicca sulla card Orthophoto Compare. Lo strumento si apre al posto della vista corrente e l'area di lavoro si divide in due metà, Sinistra e Destra.
3. Fai clic su Aggiungi risorsa a sinistra (oppure Aggiungi risorsa a destra) per scegliere l’ortofoto per ciascun lato. Si apre un visualizzatore di risorse, in cui puoi cercare le ortofoto disponibili per nome e visualizzare in anteprima l’elemento selezionato.
Usa Cancella selezione nel pannello laterale per azzerare entrambi i lati e ricominciare.
Scegliere una modalità di confronto
Dalla sezione Modalità di confronto nel pannello laterale puoi scegliere come confrontare le due ortofoto:
- Swipe: Un divisore verticale trascinabile mostra l'ortofoto sinistra da un lato e la destra dall'altro, sulla stessa area. Trascina la maniglia per spostare il divisore.
- Fade: Le due ortofoto sono sovrapposte e uno slider regola l'opacità dell'una sull'altra, sfumando gradualmente tra le due.
- Split: Le due ortofoto sono mostrate affiancate in due pannelli sincronizzati, ciascuno etichettato con la propria acquisizione.
Mostrare gli oggetti sulla mappa
Lo switch Mostra oggetti sulla mappa consente di mostrare o nascondere le geometrie del progetto sovrapposte all’ortofoto. Quando è disattivato, tutte le geometrie vengono nascoste, indipendentemente dalla classe oggetto, così da consentire una visualizzazione pulita dell’ortofoto.

Allineare le ortofoto
Se le due ortofoto non sono perfettamente allineate, puoi regolare la posizione dell’ortofoto di destra rispetto a quella di sinistra nella sezione Allineamento, utilizzando gli slider Shift X, Shift Y e Scale. Il comando Ripristina allineamento ripristina i valori originali.
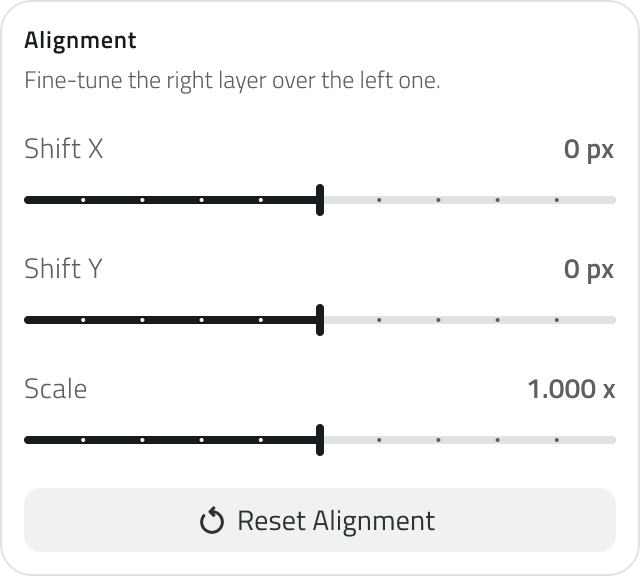
L'allineamento agisce solo sull'ortofoto di destra; quella di sinistra viene usata come riferimento. Dove l'ortofoto di destra viene ridotta o spostata, diventa visibile la basemap sottostante.
Chiudere lo strumento di confronto
Per chiudere il confronto, fai clic su Chiudi modalità confronto sulla mappa oppure utilizza il pulsante Indietro del pannello.
Collassando il pannello laterale per espandere la vista mappa, oppure aprendo un'altra sezione dalla barra di navigazione, il confronto non viene chiuso: resta attivo e sull'icona della sezione Strumenti compare un badge azzurro. Fai clic sull’icona per riaprire il confronto.
Collegamenti
Last update: 16 Giugno 2026
No comments to display
No comments to display