Create and manage Projects
 English
  Italiano
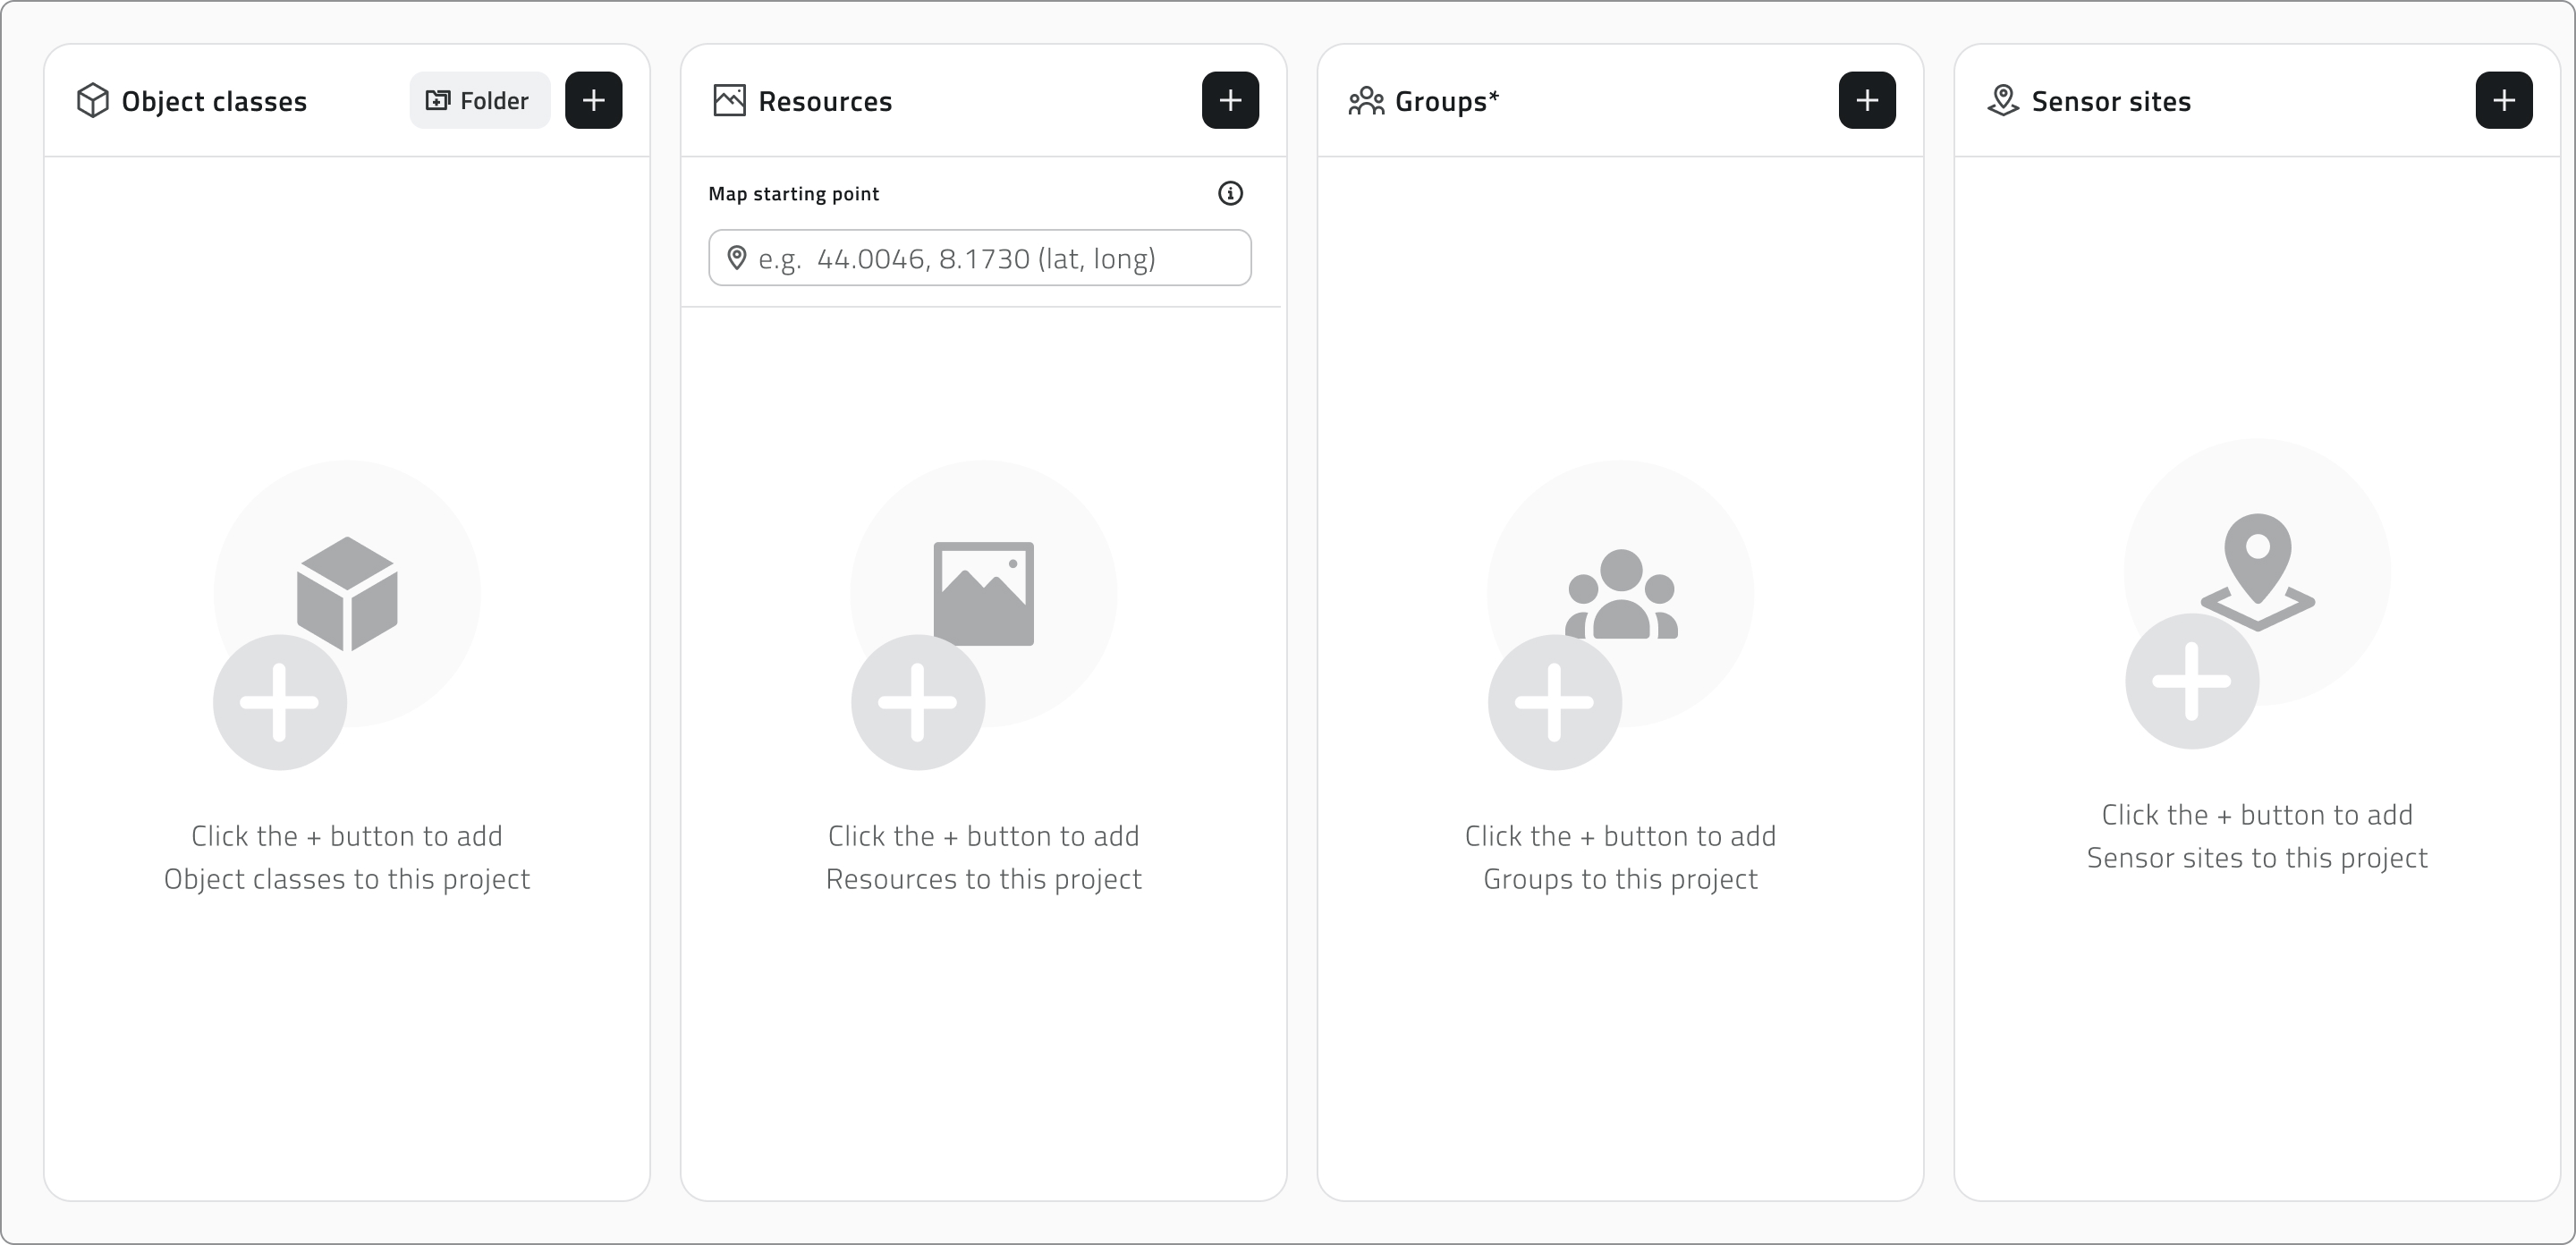
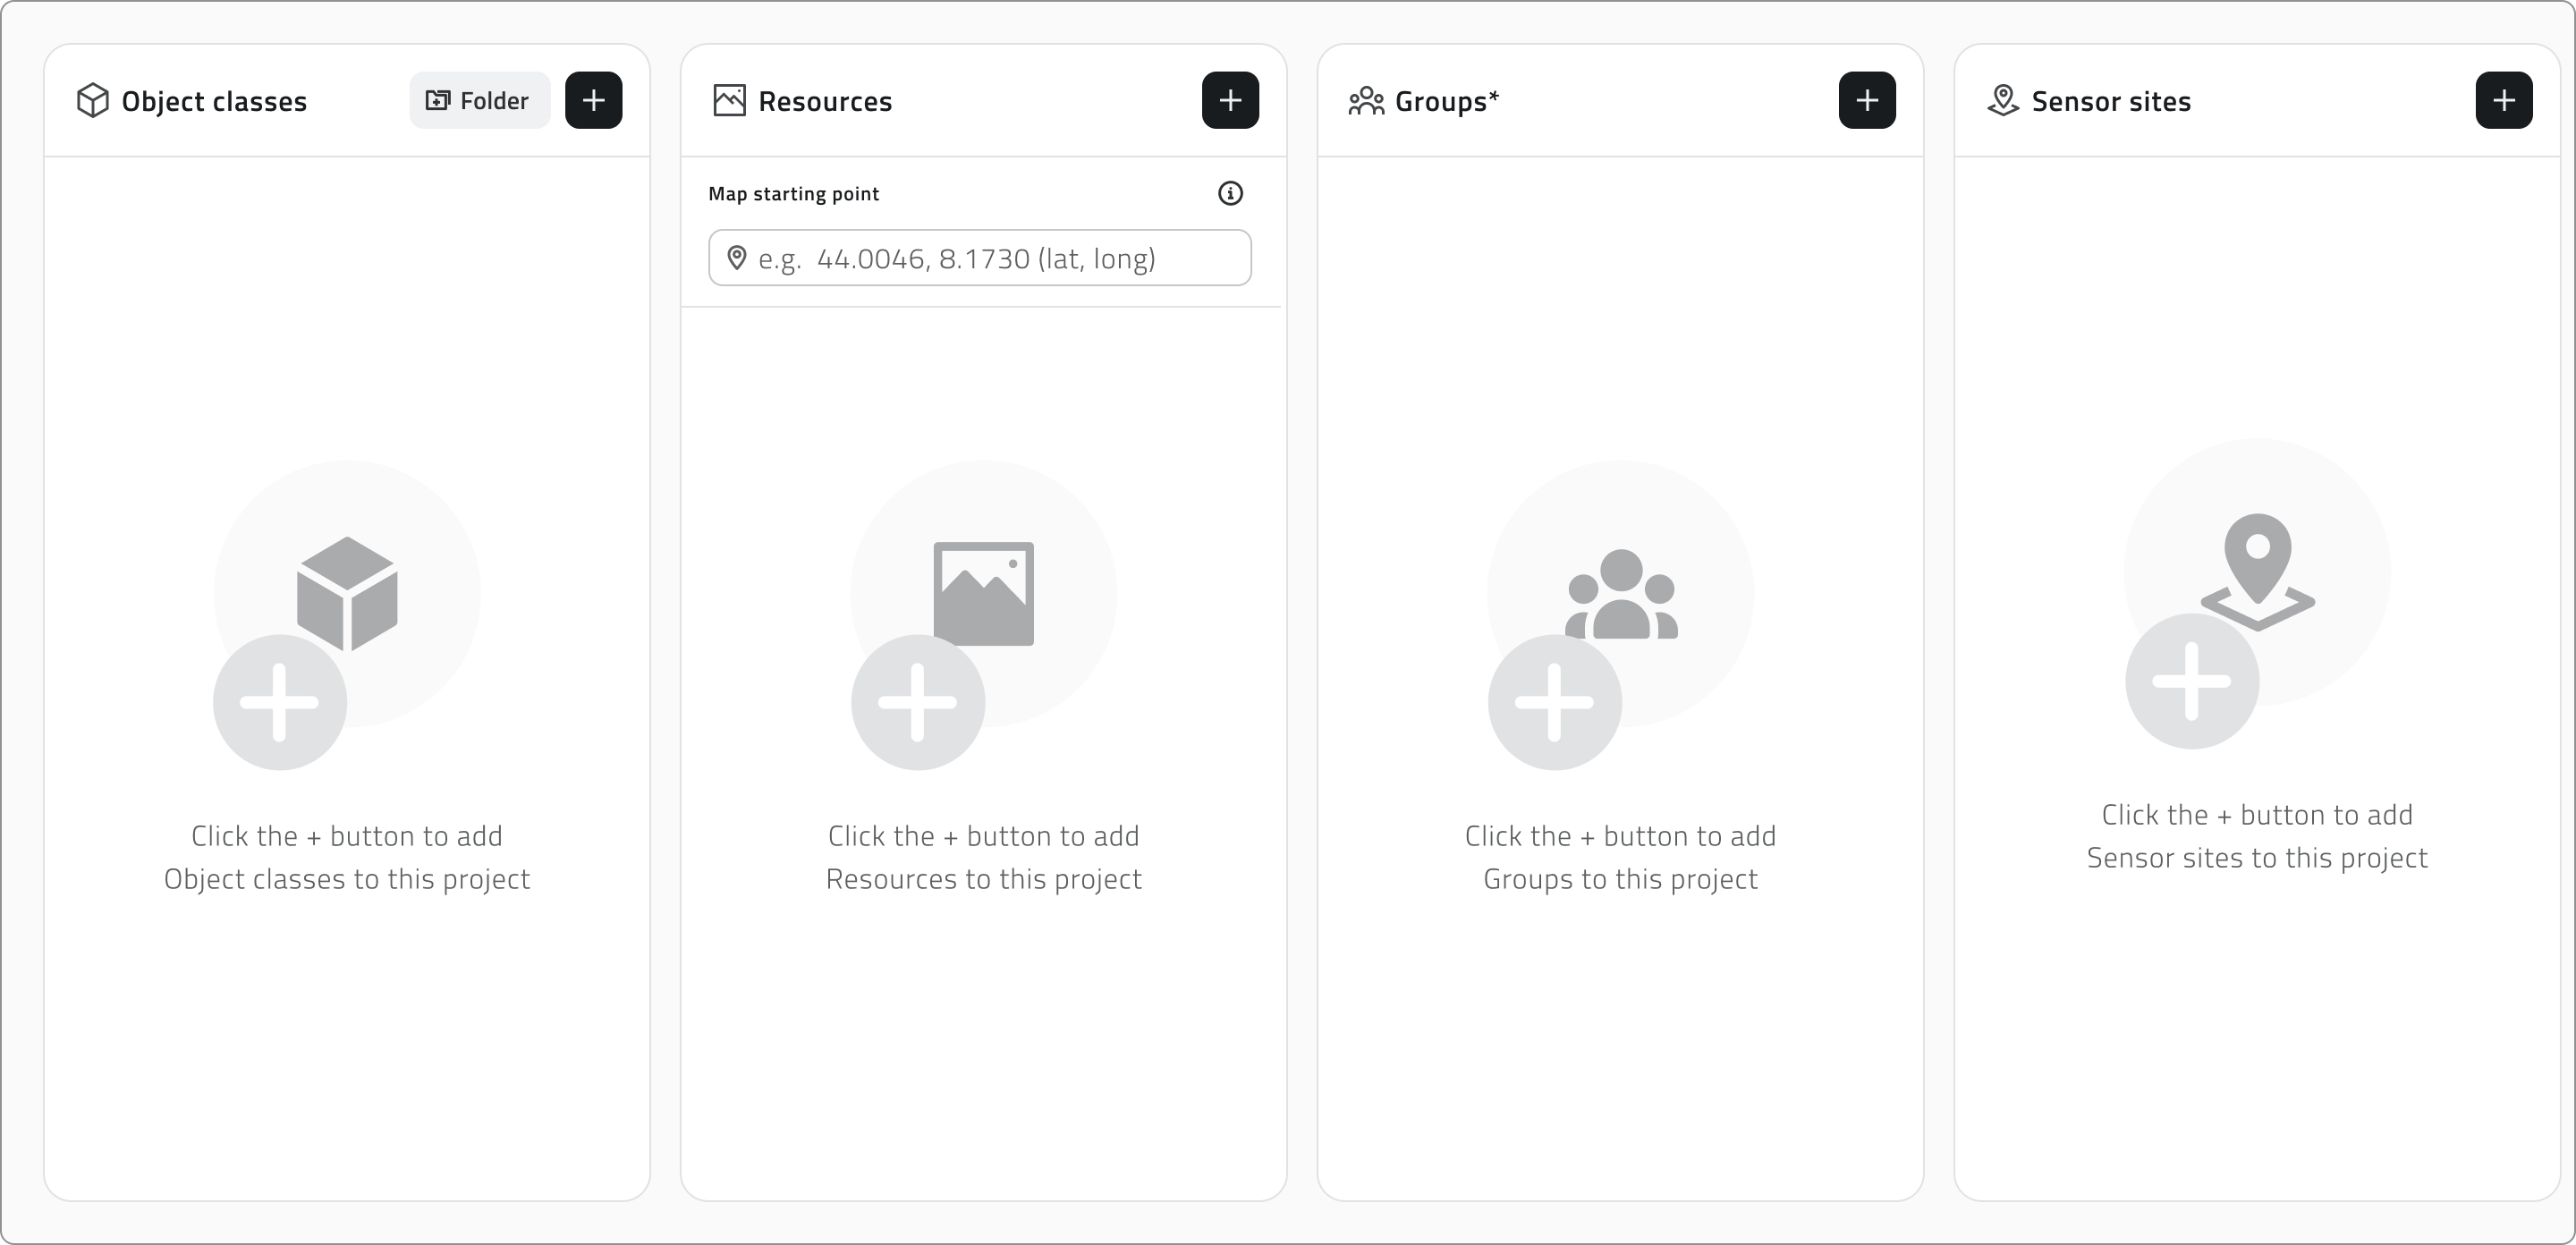
 Creating a new project lets you structure and manage the organisation's operational activities in an orderly way. A project can contain Object classes, Resources, Groups and Sensor sites.
Available only to users with backoffice permission. The elements you want to associate must already exist in the system.
Create a new project
To create a new project, open the Backoffice and click Projects in the left sidebar. The list that opens shows each project's name, last-update date, linked groups and tags.
Click New project in the top-right corner to begin, then fill in the main fields:
- Enter a unique Project name, which is required.
- Click the Tags field to see the tags already saved, then pick one or type a new value. The tag appears inside the field.
- Click a Module to turn it on or off.

Add elements to the project
Drag elements from the left list to the right to add them. Hold Ctrl and click to add elements to the selection or remove them, one at a time, or click an element and then Shift-click another to select every element between the two.
As you work, a single search bar filters both lists together, while the counters above each list track how many elements are available and how many are associated. Click Apply to confirm.
Organise object classes
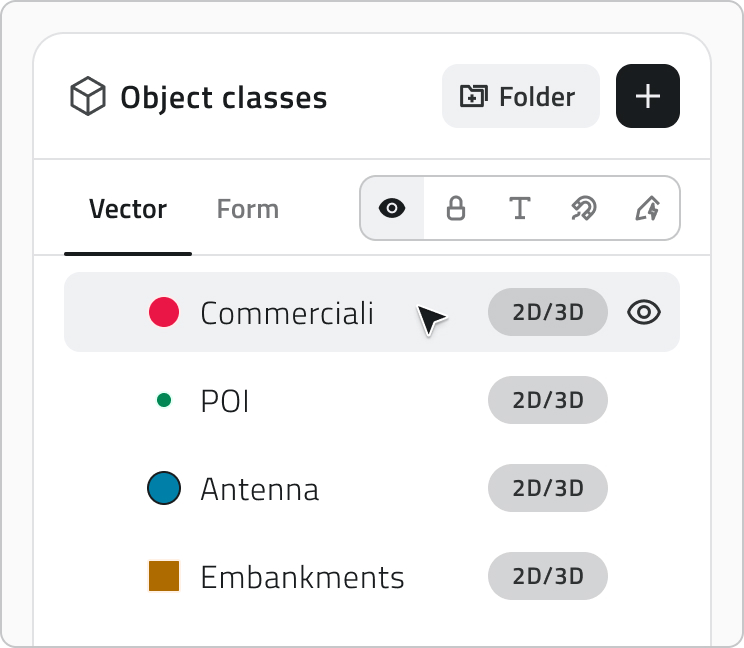
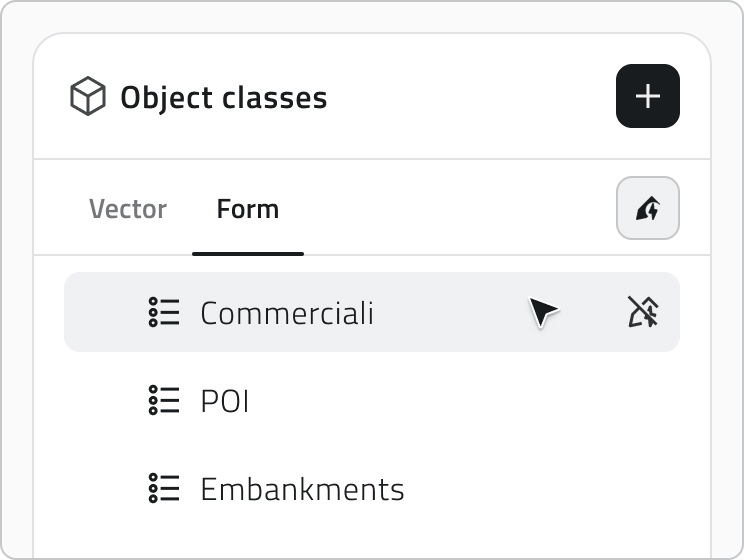
The Object classes panel keeps the two kinds of class apart in separate tabs. Vector holds the Point, Line and Polygon classes that appear in the 2D and 3D views, while Form holds the form-based ones.
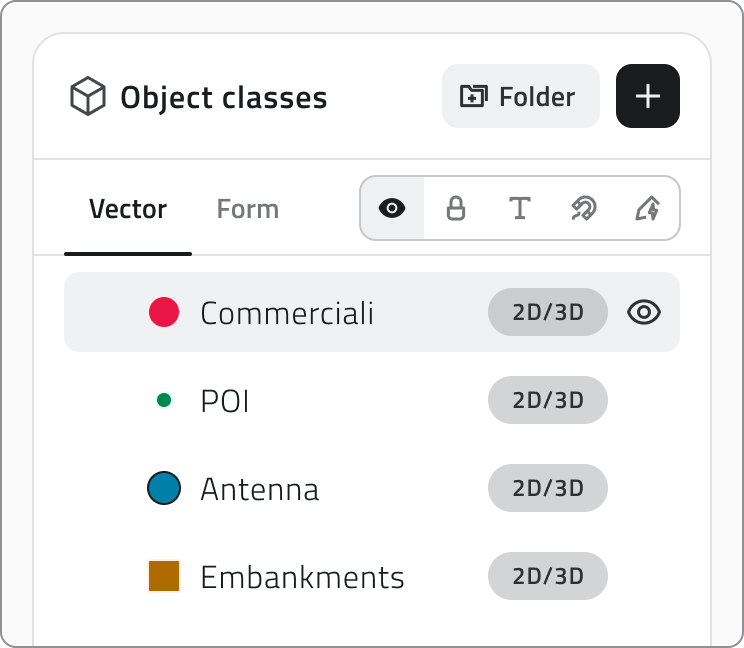
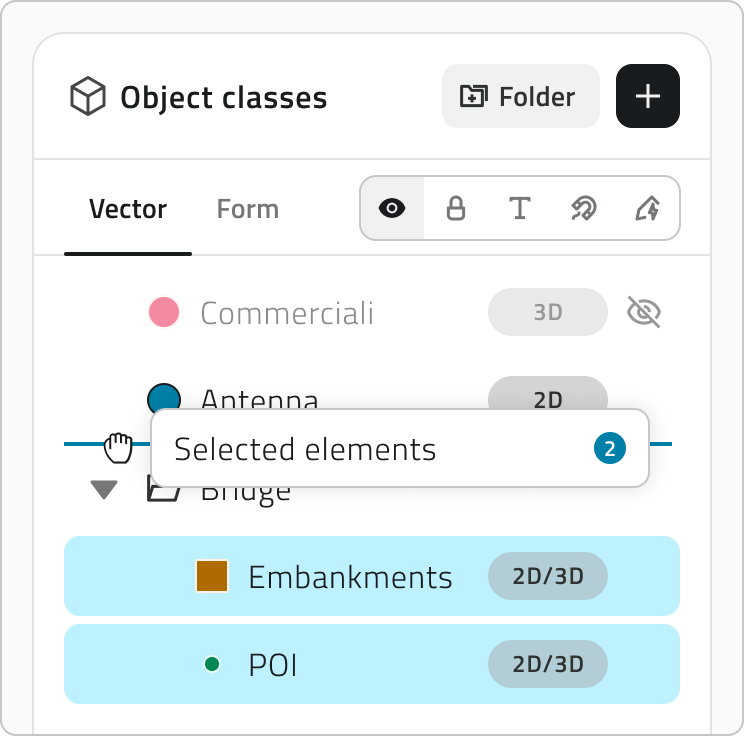
In the Vector tab you arrange the layers as a tree and decide how each one appears when the project opens. Drag a layer to reorder it or to move it into or out of a folder: a blue line follows the cursor to show where it will land, and dropping it onto a folder places it inside.
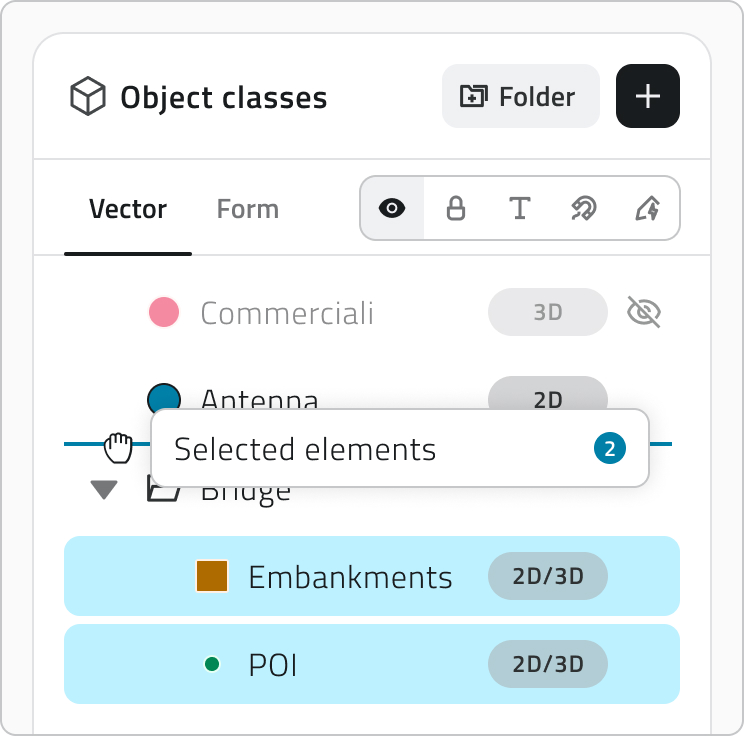
To work on several layers at once, hold Ctrl and click each layer you want to add to or remove from the selection. You can also click one layer and then Shift-click another to select every layer between the two.
- Click the Folder button to create one.
- Double-click a folder name to rename it. A name is required.
- Use the arrow on its left to expand or collapse it, and nest folders on as many levels as you need.
- Hover a folder and choose Ungroup to dissolve it. Its layers move up one level.
- Switch a folder's Visibility to show or hide everything it holds at once, while each layer keeps its own setting.
To set a layer's properties, pick the property in the properties component, then hover the layers to turn it on or off.
| Property | What it sets | Default |
| Visibility | Whether the layer is on or off when the project opens | ON |
| Lock | Whether the layer is protected from user interaction in the viewer | OFF |
| Snap | Whether the layer's geometries work as a snapping reference while drawing or editing | OFF |
| Labels | Whether the layer's labels are shown in the viewer when the project opens | OFF |
| Render Scope | The views the layer belongs to: 2D, 3D or both | BOTH |
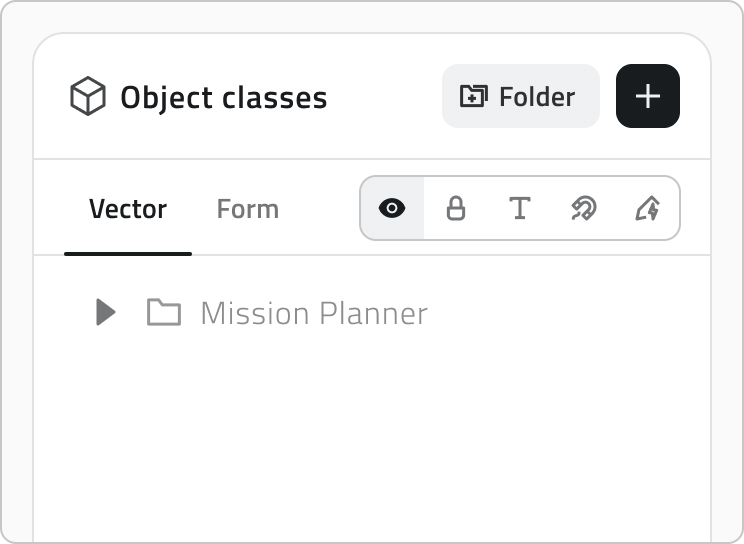
Turning on the Mission planner module adds a Mission Planner folder to the Vector tab, holding the object classes needed to use the module. Use the arrow to expand it and see what it contains.
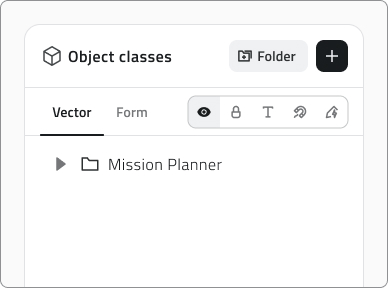
The Mission Planner folder is read-only: the classes it holds cannot be moved or removed.
The Form tab lets you order the form classes and, where a class supports it, set Automatic Object Creation.
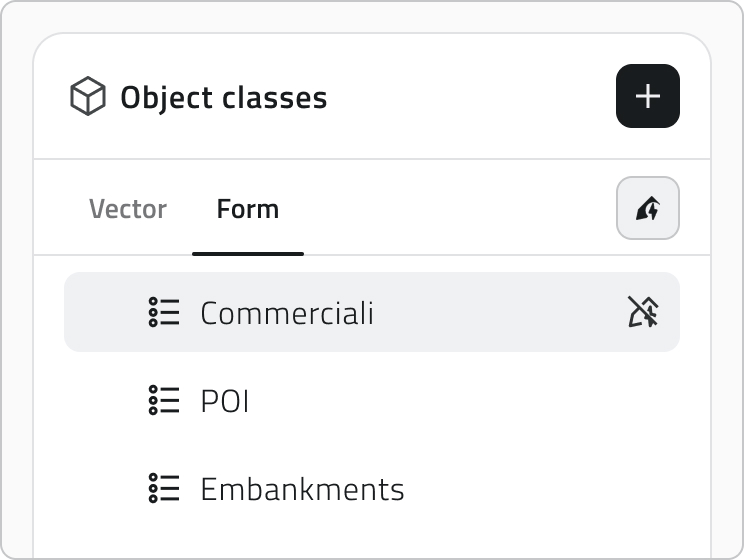
Automatic object creation
Some object classes have automatic object creation configured, and their icon appears next to the name once you add them. Click the icon to enable or disable automatic object creation for this project.

Configure resources and the initial map focus
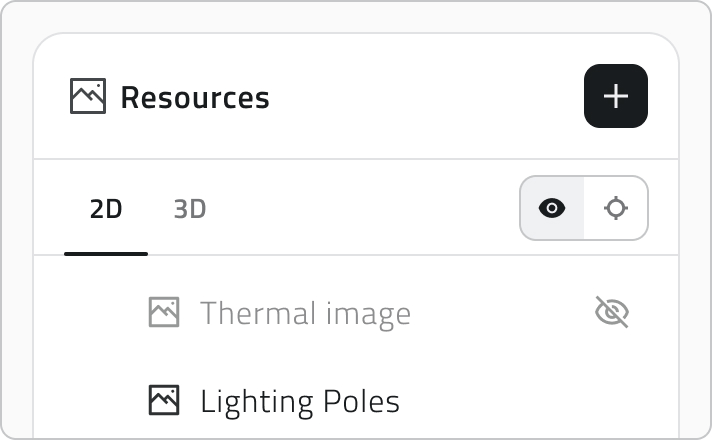
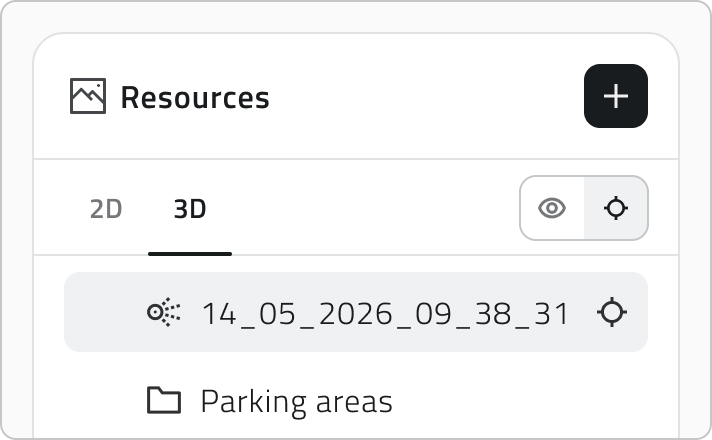
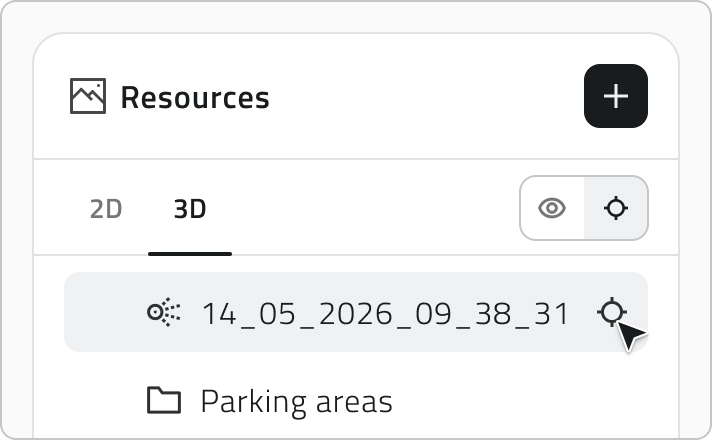
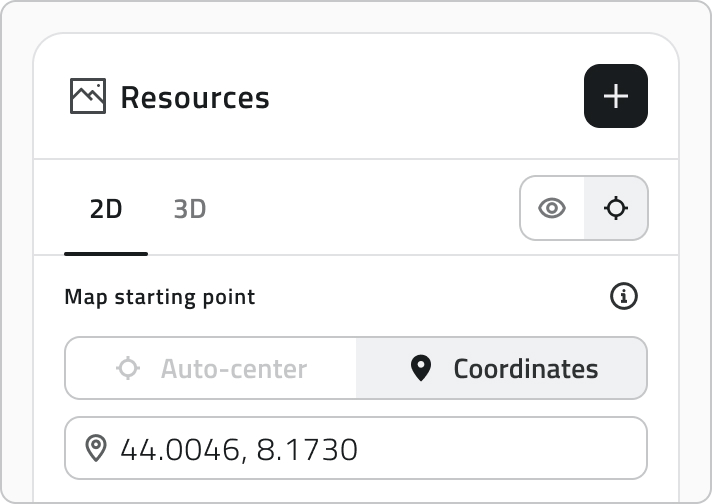
The Resources panel splits resources between a 2D tab and a 3D tab. Drag them to set the order they appear in the project's side panel, and use Visibility to decide whether each one is active when the project opens.
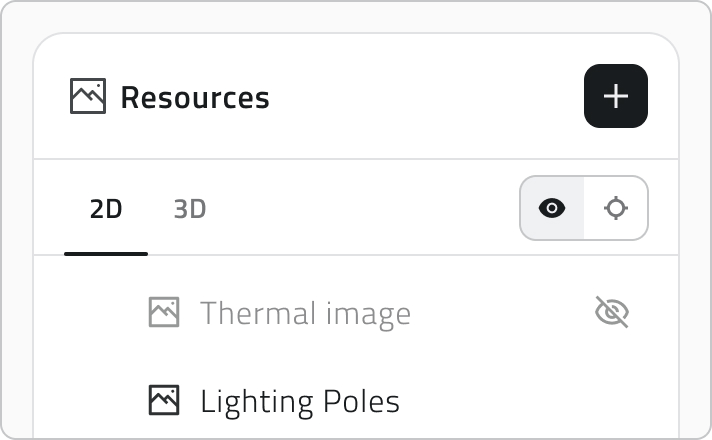
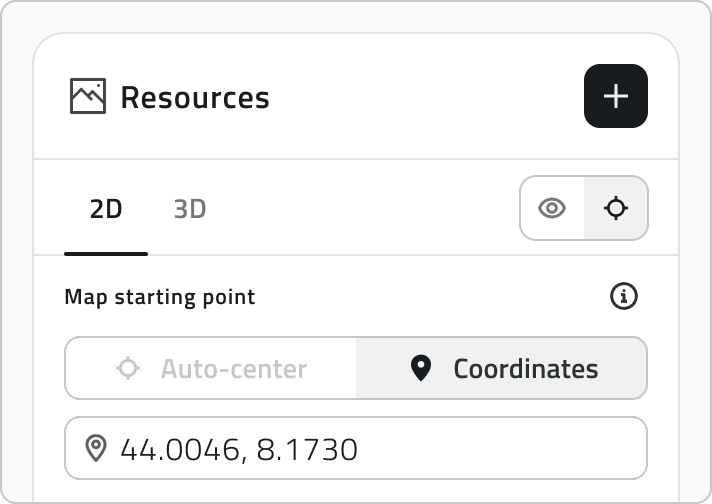
Auto-Center sets what the viewer centres on when the project opens, and you set it separately for each view:
- In the 3D tab, hover a resource and click the crosshair icon to use it as the reference. The crosshair then stays visible on the resource you chose.
- In the 2D tab, enter the geographic coordinates the map should open on.
The object class hierarchy, order, visibility, Render Scope, and Auto-Center settings you configure here determine how layers and resources are presented when the project is opened.
Groups and sensor sites
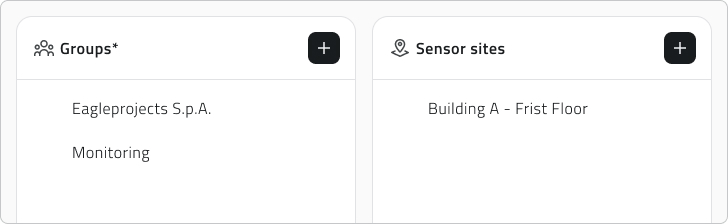
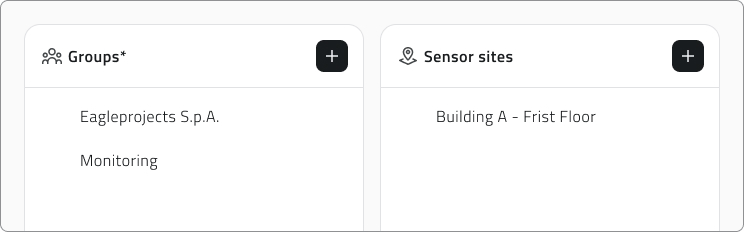
The Groups panel controls who can reach the project: only the users who belong to an associated group can open it.
The Sensor sites panel associates sets of sensors with the project.
Save the project
Click Save in the top-right corner to save the project. The button stays disabled until you have entered a name and at least one group.

If you remove Object classes that already have created instances, those instances are hidden from the project. A label at the top of the Object classes section keeps this information: hover it to see which classes are hidden.
💡 Tip: Before saving, check that the associated groups are correct: only their members can access the project.
Edit and manage elements
- To edit a project, hover it in the list and click the blue arrow button.
- To duplicate one, select it, click Duplicate and choose which elements to include in the copy.
- To delete projects, select one or more of them, click Delete and type the project name to confirm.