
Create and manage Projects
![]() English version
English version
Creating a new project allows you to structure and manage the organisation's operational activities in an orderly way.
Each project can contain object classes, resources, groups, sensor sites and reports.
Available only to users with backoffice permission. To create a project, the groups to be associated must already exist in the system.
Create a new project
1. Access the Backoffice and click Projects in the left side menu.
The list shows name, date of last update, linked groups and tags.
![]()
2. Click the New project button in the top-right corner.
![]()
3. Fill in the main fields:
- Enter a unique Project name (required).
- Add one or more Tags by typing and pressing Enter, or by selecting an existing one from the dropdown menu.
💡 Tip: Tags are used to classify projects and make searching easier. Tags you create are saved and automatically suggested in future projects.
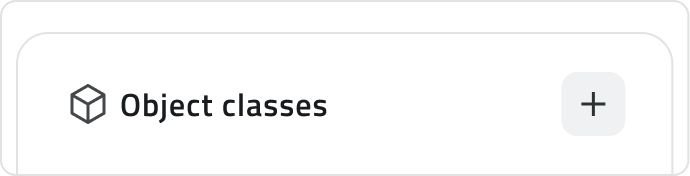
4. Add elements to the project.
In the lower sections, Object classes, Resources, Sensor sites, Groups and Reports, click Add to open the selection panel.
Select one or more elements in the left panel and drag them to the right to add them. Use the search bar to filter. For multiple selections use Ctrl or Shift.
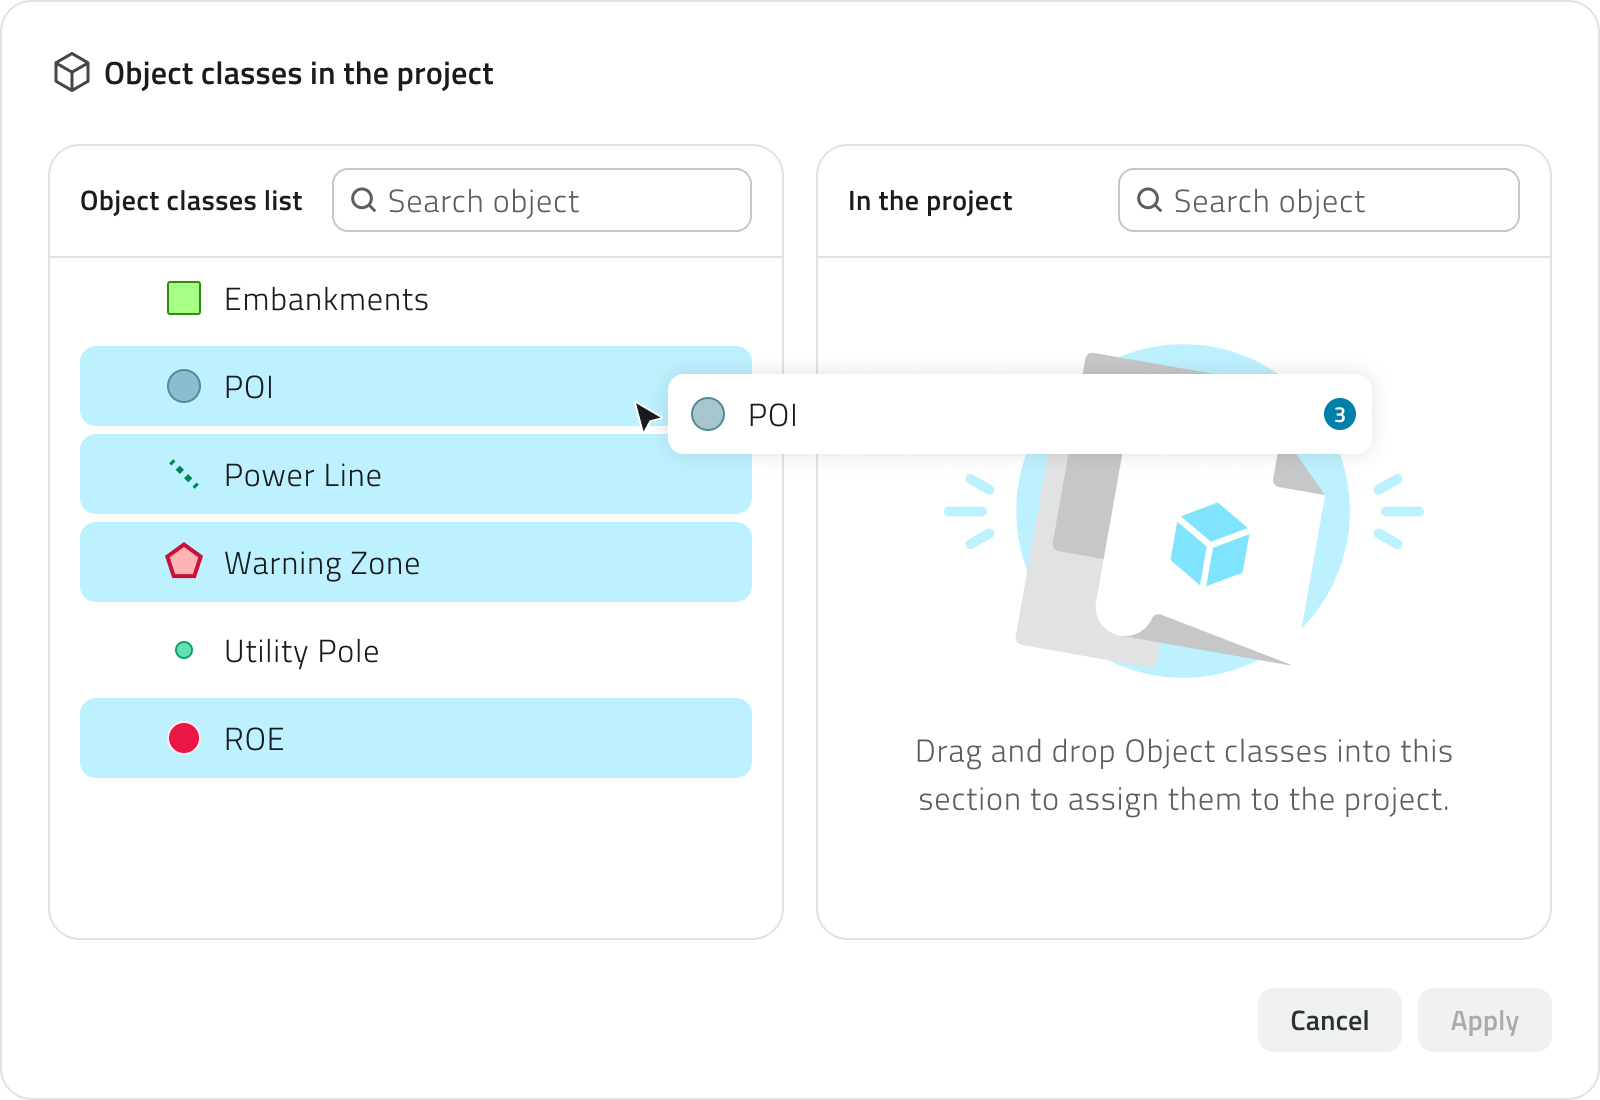
Click Apply to confirm.
Object classes and automatic creation
Some object classes have the automatic object creation function configured. When you add one of these classes to the project, the icon for automatic creation is visible next to its name, as a visual reminder of this feature.
Once the class has been added, the icon becomes interactive directly within the section: you can use it to enable or disable automatic object creation for that specific project.
5. Save the new project by clicking Save in the top-right corner.
The button remains disabled until a name and at least one group have been entered.
If you remove Object Classes that already have created instances, these will be hidden from the project.
This information remains available in a label at the top of the object classes section; hovering over it will show you which object classes have been hidden.
💡 Tip: Before saving, always check that the associated groups are correct: only users belonging to them will have access to the project.
Edit and manage elements
To edit a project, click the blue button with the arrow icon that appears when hovering over the element.
If you want to duplicate a project, select a single element from the list, then click the Duplicate button. A window will ask which elements of the project to include in the copy.
To delete a project, select one or more elements from the list: the Delete button will appear. To confirm, type the project name in the appropriate field.
Links
![]() Italian version
Italian version
Creare un nuovo progetto permette di strutturare e gestire le attività operative dell’organizzazione in modo ordinato.
Ogni progetto può contenere classi oggetto, risorse, gruppi, siti dei sensori e report.
Disponibile solo per utenti con permesso backoffice.
Per creare un progetto è necessario che nel sistema siano già presenti i gruppi da associare.
Creare un nuovo progetto
1. Accedi al Backoffice e clicca su Progetti nel menu laterale sinistro.
La lista mostra nome, data dell'ultimo aggiornamento, gruppi collegati e tag.
![]()
2. Clicca sul pulsante Nuovo progetto in alto a destra.
![]()
3. Compila i campi principali:
- Inserisci un Nome progetto univoco (obbligatorio).
- Aggiungi uno o più Tag scrivendo e premendo Invio, oppure scegliendone uno esistente dal menu a tendina.
💡 Suggerimento: I tag servono per classificare i progetti e facilitare la ricerca. Quelli creati vengono salvati e riproposti automaticamente nei progetti futuri.
4. Aggiungi elementi al progetto.
Nelle sezioni inferiori, Classi oggetto, Risorse, Siti di sensori, Gruppi e Report, clicca Aggiungi per aprire il pannello di selezione.
Seleziona uno o più elementi nel pannello sinistro e trascinali a destra per aggiungerli. Usa la barra di ricerca per filtrare. Per selezioni multiple usa Ctrl o Shift.
Clicca Applica per confermare.
Classi oggetto e creazione automatica
Alcune classi oggetto hanno la funzione di creazione automatica degli oggetti configurata. Quando aggiungi una di queste classi al progetto, accanto al suo nome è visibile l'icona della creazione automatica, come promemoria visivo di questa caratteristica.
Una volta aggiunta la classe, l'icona diventa interagibile direttamente nella sezione: puoi usarla per attivare o disattivare la creazione automatica degli oggetti per quel progetto specifico.
5. Salva il nuovo progetto cliccando Salva in alto a destra.
Il pulsante rimane disabilitato finché non sono inseriti un nome e almeno un gruppo.
Se rimuovi delle Classi Oggetto che hanno già delle istanze create, queste verranno nascoste dal progetto.
Questa informazione rimane disponibile in un'etichetta in cima alla sezione delle classi oggetto, passandoci sopra con il mouse avrai visibilità di quali classi oggetto sono state nascoste.
💡 Suggerimento: Prima di salvare, controlla sempre che i gruppi associati siano corretti: solo gli utenti che ne fanno parte avranno accesso al progetto.
Modificare e gestire elementi
Per modificare un progetto, clicca sul pulsante blu con l'icona di una freccia che compare passando il mouse sull'elemento.
Se vuoi duplicare un progetto, seleziona un singolo elemento dalla lista, poi clicca il pulsante Duplica. Una finestra chiederà quali elementi del progetto includere nella copia.
Per eliminare un progetto, seleziona uno o più elementi dalla lista: comparirà il pulsante Elimina. Per confermare, scrivi il nome del progetto nell'apposito campo.
Collegamenti
Last update: 26 May 2026
No comments to display
No comments to display