
Create and manage Users
![]() English version
English version
In the Backoffice, you can create and manage user accounts for the organization.
Each user account corresponds to a user authorized to access the app or the backoffice, depending on the permissions assigned.
Available only to users with backoffice-admin permissions.
Create a new user account
1. Log in to the Backoffice and open the Users section.
![]()
2. Click New User in the upper-right corner.
![]()
3. Fill in the Email, First Name, Last Name and Username fields.

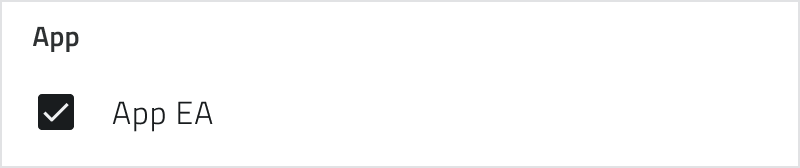
4. Check the checkbox for the app to allow the user to access the operating environment.
The checkbox displays the app’s name as configured within the organization and may therefore vary.
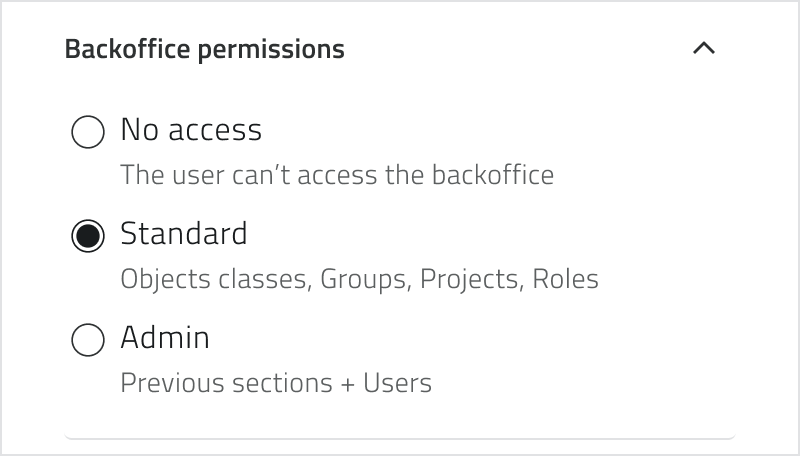
5. Select backoffice permissions:
- No access
- Standard – all sections except Users and Admin
- Admin – full access
6. Click Save to create the account.
The user will receive a welcome email with a link to set their password.
Management and Licenses
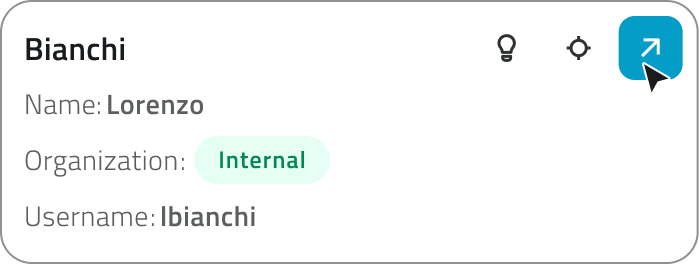
To edit a user account, click the blue button with the arrow icon that appears when you hover over the item.

Each organization has a limited number of licenses: one for the app and one for the backoffice. If a user accesses both, they consume two licenses. When licenses are exhausted, the Create New User button is no longer available.
Internal and external utilities
Users can be classified as internal or external based on the email address used during creation.
If the email address is not yet in the system, a new internal user account is created within the organization. If, however, the email address is already associated with an existing user account in another organization, the person is added as an external user.
When an external user is removed from an organization, they remain active in the other organizations with which they are associated. When an internal user is removed, however, they are deleted from the system.
Links
![]() Italian version
Italian version
Nel Backoffice è possibile creare e gestire le utenze dell’organizzazione.
Ogni utenza identifica un utente abilitato ad accedere all'app o al backoffice, in base ai permessi assegnati.
Disponibile solo per utenti con permesso backoffice-admin.
Creare una nuova utenza
1. Accedi al Backoffice e apri la sezione Utenti.
![]()
2. Clicca su Nuovo utente in alto a destra.
![]()
3. Compila i campi Email, Nome, Cognome, Username.
4. Spunta la checkbox di accesso all’app per consentire all’utente di entrare nell’ambiente operativo.
La checkbox riporta il nome dell’app così come configurata nell’organizzazione e può quindi variare.
5. Seleziona i permessi per il backoffice:
- Nessun accesso
- Standard – tutte le sezioni tranne Utenti e Admin
- Admin – accesso completo
6. Clicca Salva per creare l’utenza.
L’utente riceverà una mail di benvenuto con il link per impostare la password.
Gestione e licenze
Per modificare un’utenza, clicca sul pulsante blu con l'icona di una freccia, che appare al passaggio del mouse sull'elemento.
Ogni organizzazione dispone di un numero limitato di licenze: una per l'app e una per il backoffice. Se un utente accede a entrambi, consuma due licenze. Quando le licenze sono esaurite, il pulsante Nuovo utente non è più disponibile.
Utenze interne ed esterne
Gli utenti possono essere distinti tra interni ed esterni in base all’indirizzo email utilizzato in fase di creazione.
Se l’email non è ancora presente nel sistema, viene creata una nuova utenza interna all’organizzazione. Se invece l’email è già associata a un’utenza esistente in un’altra organizzazione, la persona viene aggiunta come utenza esterna.
Quando un’utenza esterna viene rimossa da un’organizzazione, resta comunque attiva nelle altre organizzazioni a cui è associata. Quando invece viene rimossa un’utenza interna, questa viene eliminata dal sistema.
Collegamenti
Last update: 07 May 2026
No comments to display
No comments to display