
Create and manage Users
 English
  Italiano
 The Report section ofIn the Backoffice allows, you tocan selectcreate and configuremanage reportuser templatesaccounts that will then be used in projects or fromfor the Homeorganization.
Each user account corresponds to generatea downloadableuser reports.authorized Eachto template definesaccess the structure,app parametersor andthe formatsbackoffice, availabledepending foron generation.the permissions assigned.
Available only to users with backofficebackoffice-admin permission.permissions.
Create a new Reportuser account
1. AccessLog in to the Backoffice and click Report inopen the left-sideUsers menu.
section.


2. Click the New reportUser button in the top-upper-right corner.
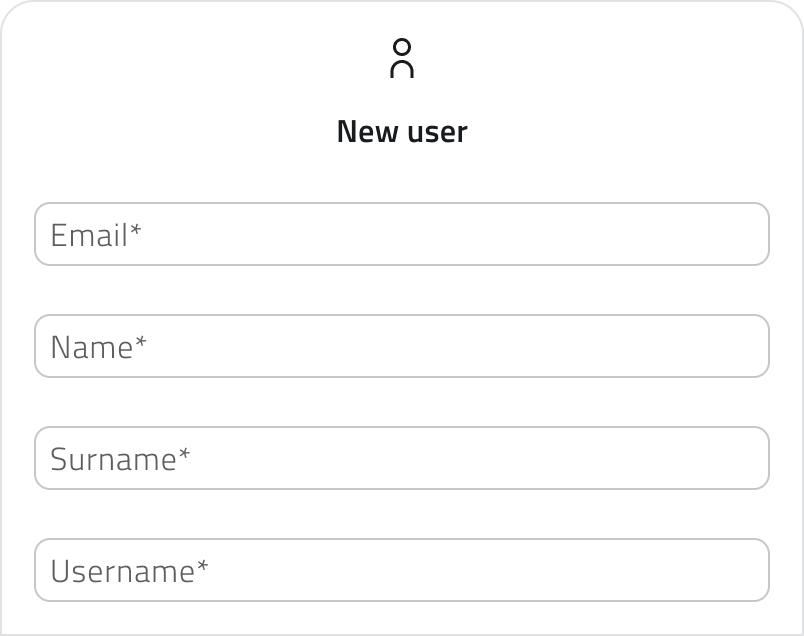
3. Enter a unique report nameFill in the ReportEmail, First Name, Last Name fieldand (required,Username maximumfields.
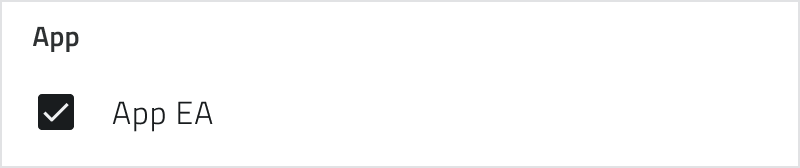
4. If the report needs to collect data from all projects in the organisation, enableCheck the Globalcheckbox Report switch.Global reports are managed fromfor the Homeapp to allow the user to access the operating environment.
The checkbox displays the app’s name as configured within the organization and notmay fromtherefore individual projects.vary.
5. Select backoffice Fill in the fields in the two sections.
Template section
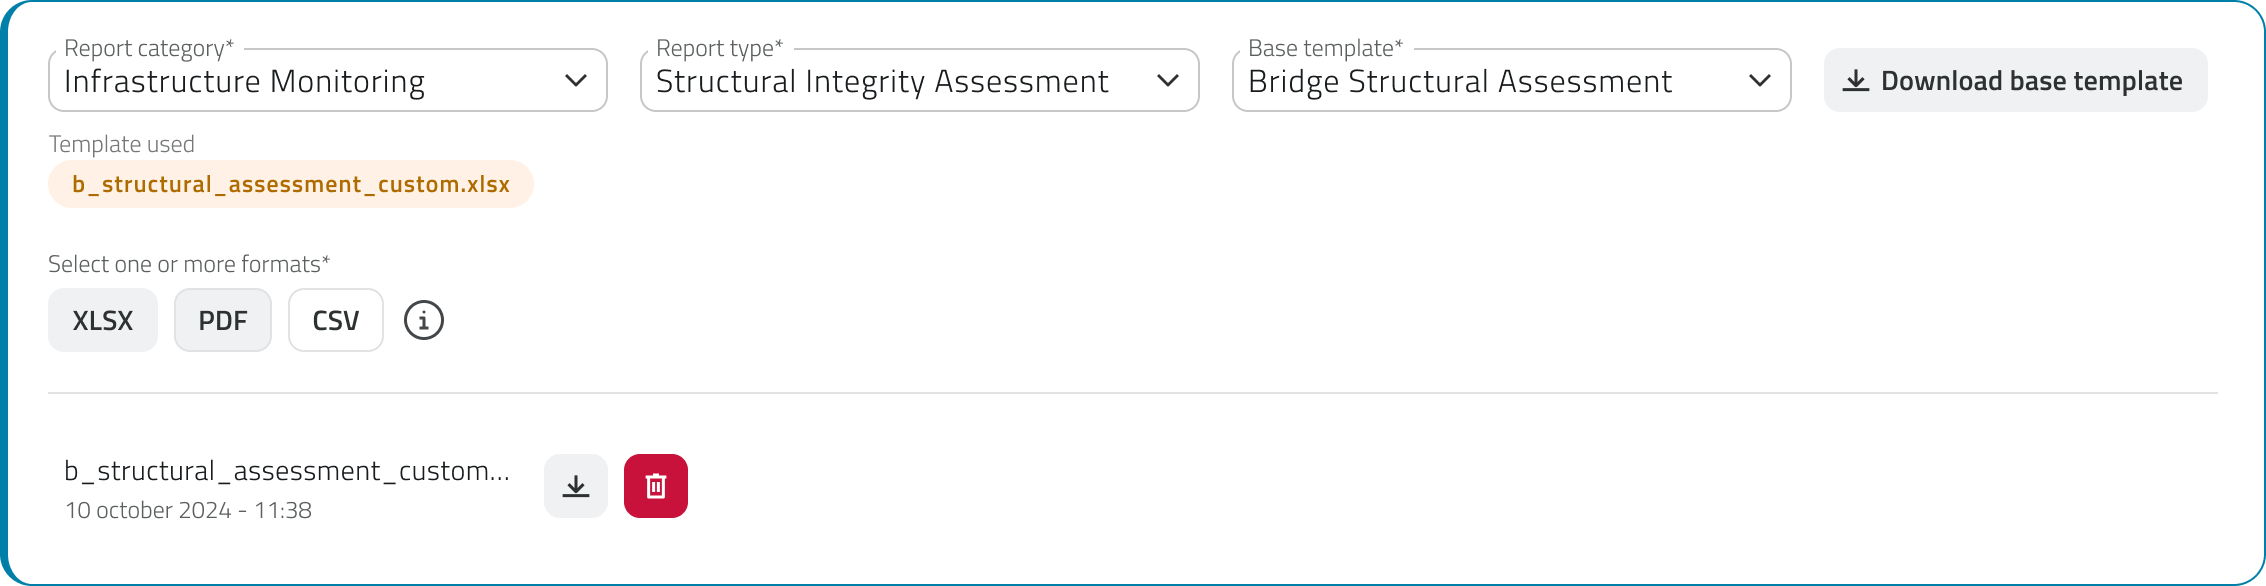
In this section, fields unlock progressively. First select the category and then the type of report: these two fields help you identify the most suitable template.
You can then select the base template and choose one or more output formats.
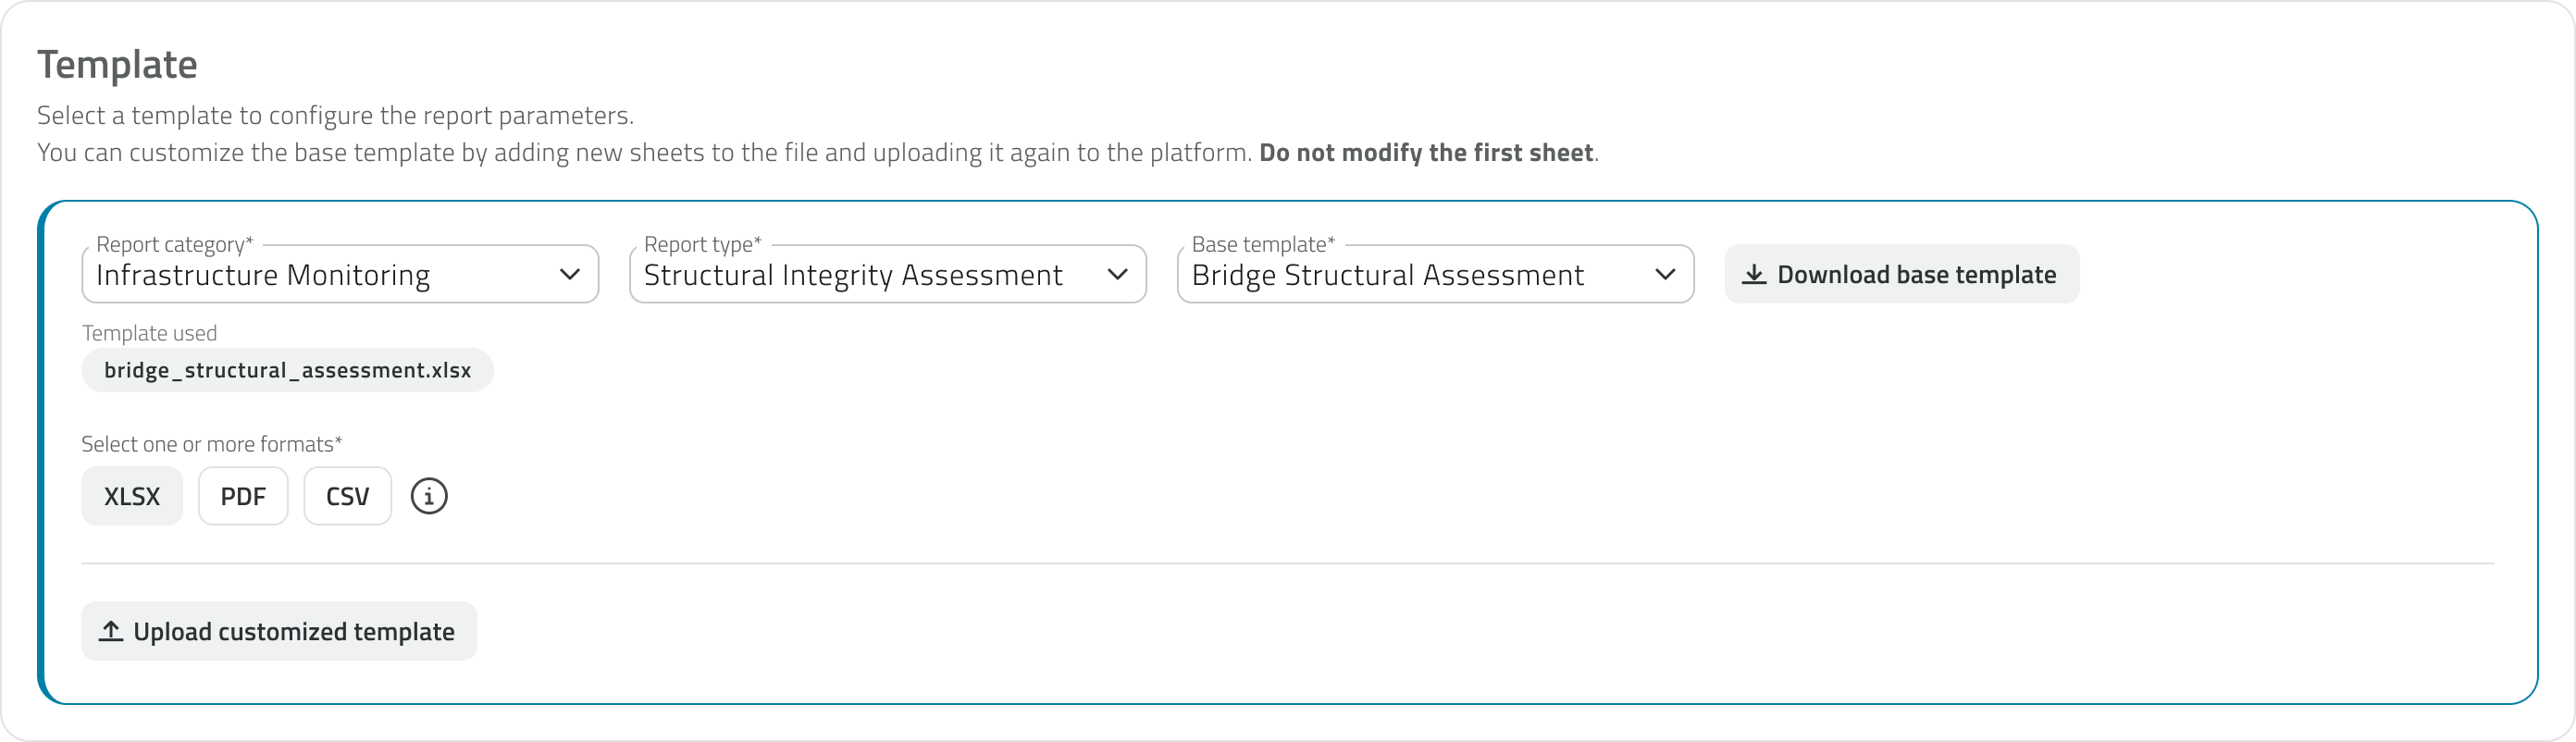
Once the template has been chosen, you can download it using the Download base template button and customise it by adding new sheets to the XLSX file.
To use the customised template, re-upload it using the Upload customised template button. The uploaded file is shown with its name, upload date and time, and can be downloaded or removed. Removing it will automatically revert to the base template.
Do not modify the first sheet of the XLSX file: it contains the data structure used by the platform to populate the report.
Parameters section
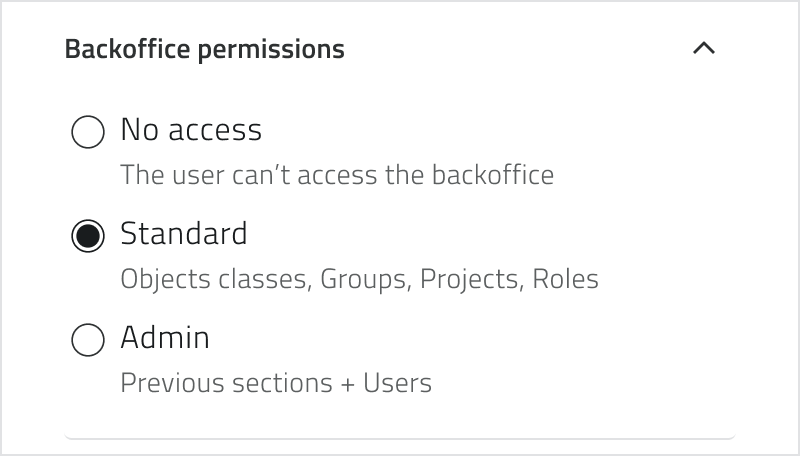
Once the template has been selected, the Parameters section populates with the parameters to configure, which vary depending on the chosen template. Parameters are divided into two groups, Inputs and Filters, defined by the template itself:permissions:
InputsNoare configured here in the Backoffice by indicating where the system should retrieve the data from. They may be mandatory.accessFiltersStandardare–notallconfigurable:sectionstheyexceptare shown here so you are aware of their presence,Users andareAdmin- Admin
in–byfulltheaccessuser in the app at the time of generation to refine the report content. For each filter you can optionally set adisplay name, which is shown to the user in the app to help them fill in the field; if left empty, the system name is used. Filters that are mandatory for the user are marked with theRequired in Applabel.
For6. eachClick InputSave ,to create the following fields unlock in sequence to indicate where the system should retrieve the data from:
Data categoryThe data category to draw fromTable or Object NameThe specific table or object classData Field or PropertyThe specific field or property to use
Parameters can be of different types, such as text, numbers, true/false, date and date and time.account.
The parameter type is indicative in the Backoffice and helps guide the configuration. For Filters, it determines the type of field the user will needreceive a welcome email with a link to fillset intheir at the time of generation in the app.
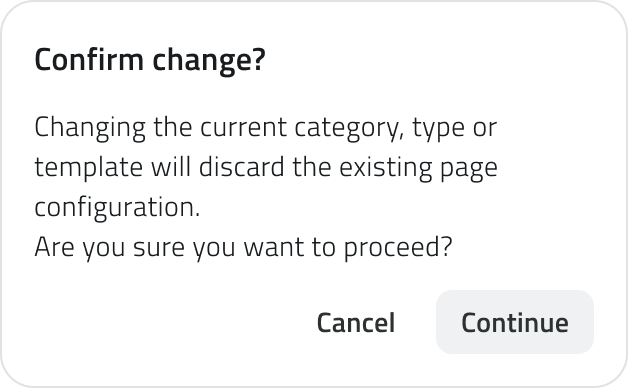
Changing the category, type or base template after having configured the parameters will reset the entire parameter configuration. The system will display a confirmation window before proceeding.
Save the Report
Click Save in the top-right corner to complete the creation. On first save, a window opens to set the default permission to assign to the template for all existing roles. This setting can be modified later from the Roles page of the Backoffice.
ViewManagement and edit ReportsLicenses
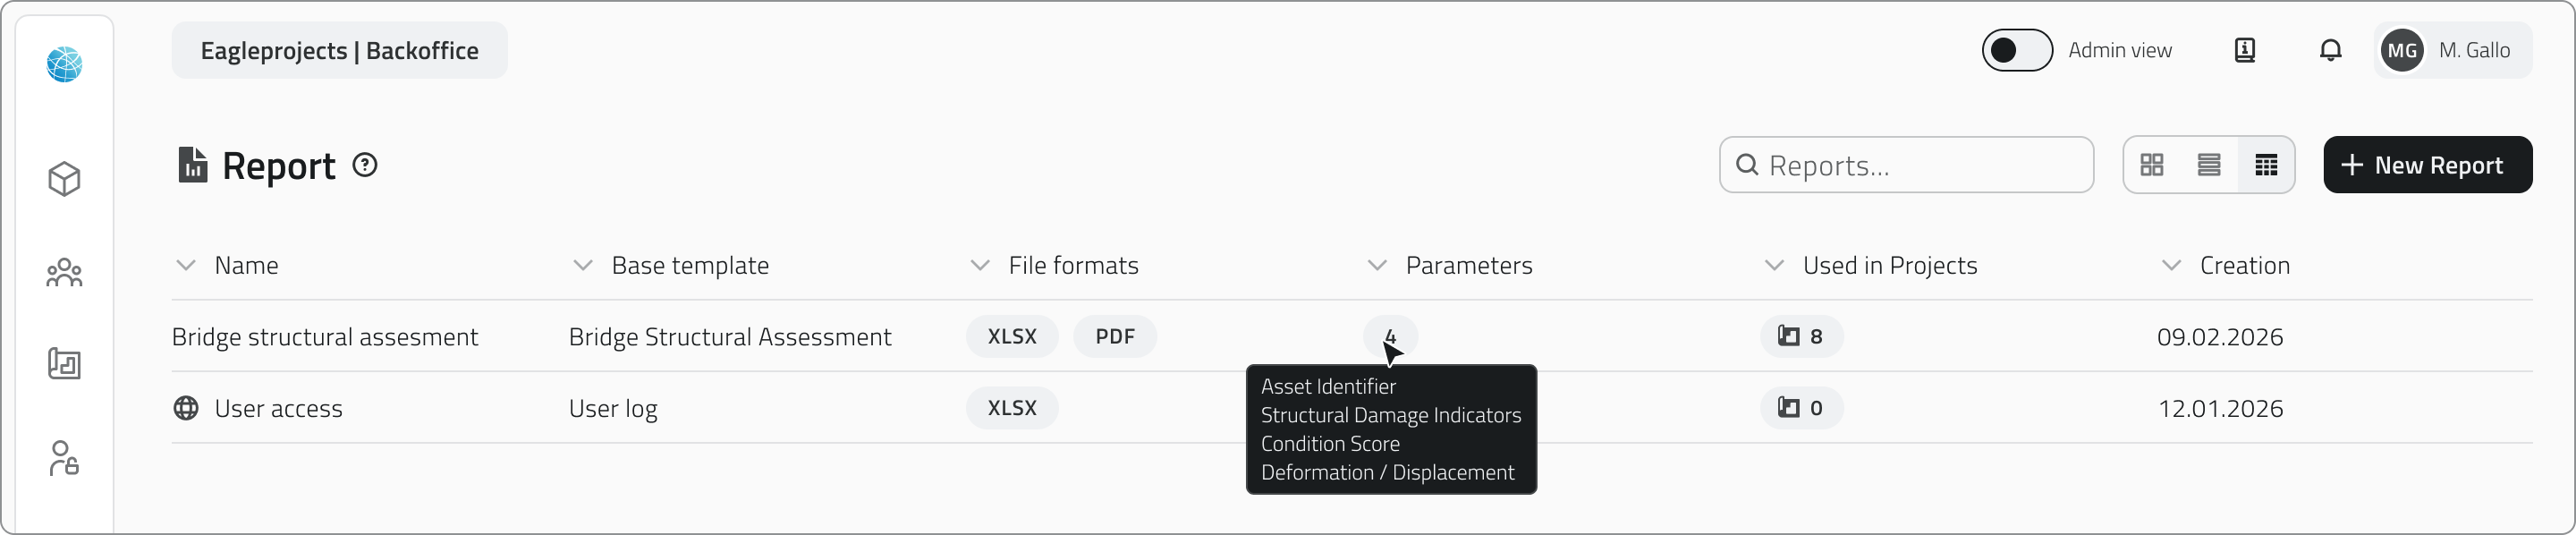
The report list shows the following information for each element:
NameBase templateThe selected base template.FormatsParametersHovering over the number shows all parameters available for that template.ProjectsHovering over the number shows the list of projects in which the template has been added; global reports show 0 because they are managed from the Home.Creation date
Global reports are recognisable by the globe icon next to their name.
Edit
To edit a reportuser account, click the blue button with the arrow icon that appears when hoveringyou hover over the element.item.
Duplicate
To duplicate a report, select an element from the list to display the Duplicate button in the top-right corner of the page.
Delete
To delete a report, selectremove one or more elementsuser andaccounts, clickselect them in the list: the Delete button appears in the top-right corner of the page.corner. Hold CTRL and click to add reportsusers to the selection or remove them from it.
Deleting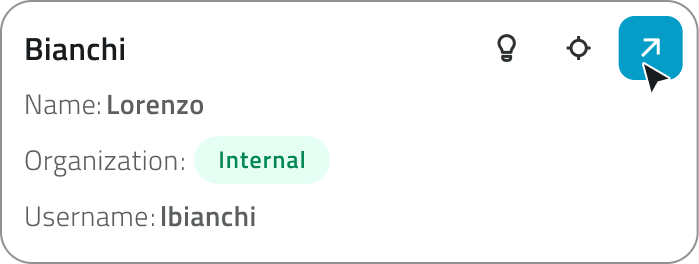
Each organization has a reportlimited templatenumber causesof licenses: one for the app and one for the backoffice. If a user accesses both, they consume two licenses. When deletionlicenses ofare allexhausted, instancesthe Create New User button is no longer available.
Internal and external utilities
Users can be classified as internal or external based on the email address used during creation.
If the email address is not yet in the system, a new internal user account is created within the organization. If, however, the email address is already associated generatedwith an existing user account in another organization, the person is added as an external user.
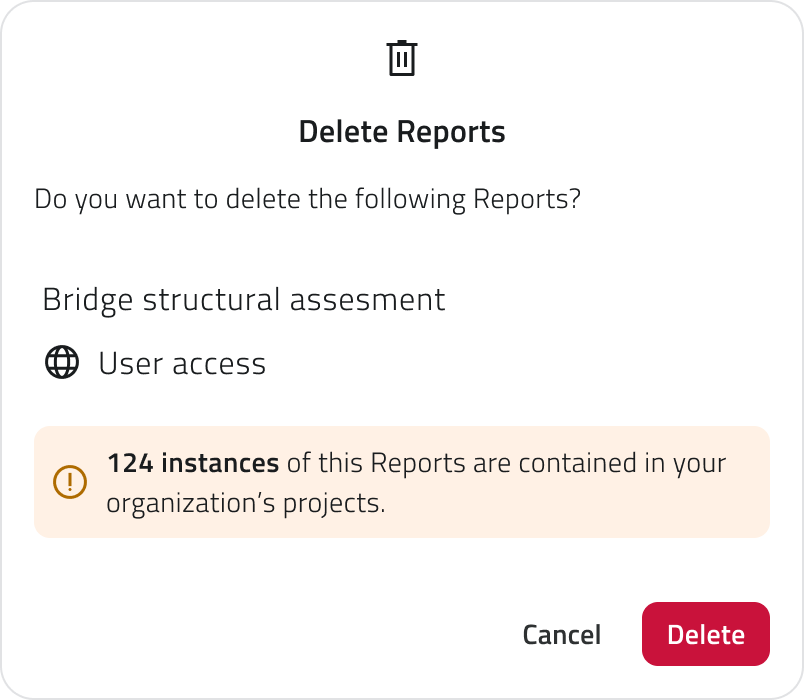
When an external user is removed from thatan templateorganization, they remain active in projectsthe andother organizations with which they are associated. When an internal user is removed, however, they are deleted from the Home. The system shows the number of instances involved before proceeding with the confirmation.
Links
- Create and
manageManageProjectsGroups ManagingOverviewreportsofinusers,therolesprojectand groups
CreareCrea e gestisci gli utenti
Nel Backoffice è possibile creare e gestire i report
La sezionele Reportutenze deldell’organizzazione.
Ogni Backofficeutenza consenteidentifica diun scegliereutente eabilitato configuraread iaccedere templateall'app di report che verranno poi utilizzati nei progetti o dallaal Homebackoffice, perin generarebase reportai scaricabili.permessi Ogni template definisce la struttura, i parametri e i formati disponibili per la generazione.assegnati.
Disponibile solo per utenti con permesso backofficebackoffice-admin..
Creare ununa nuovonuova Reportutenza
1. Accedi al Backoffice e cliccaapri sula sezione Report Utentinel menu laterale sinistro.
.

2. Clicca sul pulsantesu Nuovo reportutente in alto a destra.
3. Compila Inseriscii un nome univoco del report nel campocampi NomeEmail, ReportNome, Cognome, Username.
4. Spunta Sela checkbox di accesso all’app per consentire all’utente di entrare nell’ambiente operativo.
La checkbox riporta il reportnome devedell’app raccoglierecosì daticome daconfigurata tutti i progetti dell'organizzazione, attiva lo switch Global Report.I report globali vengono gestiti dalla Homenell’organizzazione e nonpuò daiquindi singoli progetti.variare.
5. CompilaSeleziona i campipermessi delle due sezioni.
Sezione Template
In questa sezione i campi si sbloccano progressivamente. Seleziona prima la categoria e poi la tipologia del report: questi due campi ti aiutano a individuare il template più adatto.
A questo punto puoi selezionareper il template basebackoffice e scegliere uno o più formati di output.
Una volta scelto il template, è possibile scaricarlo tramite il pulsante Scarica template base e personalizzarlo aggiungendo nuovi fogli al file XLSX.
Per utilizzare il template personalizzato, ricaricalo tramite il pulsante Carica template personalizzato. Il file caricato viene mostrato con nome, data e ora di caricamento e può essere scaricato o rimosso. Rimuovendolo si tornerà automaticamente al template base.
Non modificare il primo foglio del file XLSX: contiene la struttura dati utilizzata dalla piattaforma per popolare il report.
Sezione Parametri
Una volta selezionato il template, la sezione Parametri si popola con i parametri da configurare, che variano in base al template scelto. I parametri si dividono in due gruppi, Input e Filtri, definiti dal template stesso::
GliNessunInputvengono configurati qui nel Backoffice indicando da dove il sistema deve recuperare il dato. Possono essere obbligatori.
accessoIStandardFiltri–nontuttesonoleconfigurabili:sezionivengonotrannemostrati qui per darti consapevolezza della loro presenzaUtenti evengonoAdmin- Admin
dall'utente–inaccessoapp al momento della generazione per affinare il contenuto del report. Per ogni filtro puoi facoltativamente impostare unnome in visualizzazione, che viene mostrato all'utente in app per aiutarlo nella compilazione del campo; se lasciato vuoto, viene usato il nome di sistema. I filtri obbligatori per l'utente sono contrassegnati dall'etichettaRequired in App.completo
Per6. ogni Input, i seguenti campi si sbloccano a cascata per indicare da dove il sistema deve recuperare il dato:
Categoria del datoLa categoria di dati da cui attingereTabella o Nome oggettoLa tabella o la classe oggetto specificaCampo del dato o ProprietàIl campo o la proprietà specifica da utilizzare
I parametri possono essere di diversi tipi, come testo, numeri, vero/falso, data e data e ora.
Il tipo di parametro è indicativo nel Backoffice e aiuta a indirizzare la configurazione. Per i Filtri, determina il tipo di campo che l'utente dovrà compilare al momento della generazione in app.
Modificare la categoria, la tipologia o il template base dopo aver configurato i parametri resetterà tutta la configurazione dei parametri. Il sistema mostrerà una finestra di conferma prima di procedere.
Salvare il Report
Clicca Salva in alto a destra per completarecreare lal’utenza.
L’utente Al primo salvataggio si aprericeverà una finestramail di benvenuto con il link per impostare illa permesso di default da assegnare al template per tutti i ruoli esistenti. Questa impostazione può essere modificata in seguito dalla pagina Ruoli del Backoffice.password.
VisualizzareGestione e modificare i Reportlicenze
Nella lista dei report sono visibili le seguenti informazioni per ogni elemento:
NomeTemplate baseIl template base selezionatoFormatiParametriPassando il mouse sul numero vengono mostrati tutti i parametri disponibili per quel template.ProgettiPassando il mouse sul numero viene mostrata la lista dei progetti in cui il template è stato aggiunto; i report globali mostrano 0 perché sono gestiti dalla HomeData di creazione
I report globali sono riconoscibili dall'icona del globo accanto al nome.
Modifica
Per modificare un reportun’utenza, clicca sul pulsante blu con l'icona frecciadi una freccia, che appare al passaggio del mouse sull'elemento.
Duplicazione
Se vuoiPer duplicarerimuovere ununa reporto più utenze, selezionaselezionale unnella elemento dalla lista per visualizzarelista: il pulsante DuplicaElimina compare in alto a destra della pagina.
Eliminazione
Se vuoi eliminare un report puoi selezionare uno o più elementi e cliccare sul pulsante Elimina in alto a destra della pagina.destra. Tieni premuto CTRL e clicca per aggiungere reportutenze alla selezione o toglierli.toglierle.
Eliminare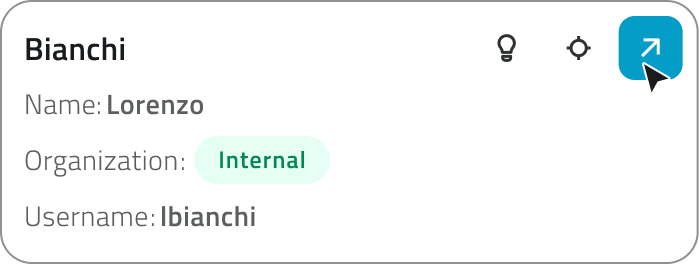
Ogni organizzazione dispone di un templatenumero limitato di reportlicenze: comportauna per l'app e una per il backoffice. Se un utente accede a entrambi, consuma due licenze. Quando le eliminazionelicenze sono esaurite, il pulsante Nuovo utente non è più disponibile.
Utenze interne ed esterne
Gli utenti possono essere distinti tra interni ed esterni in base all’indirizzo email utilizzato in fase di tuttecreazione.
Se istanzel’email non è ancora presente generatenel sistema, viene creata una nuova utenza interna all’organizzazione. Se invece l’email è già associata a un’utenza esistente in un’altra organizzazione, la persona viene aggiunta come utenza esterna.
Quando un’utenza esterna viene rimossa da quelun’organizzazione, templateresta neicomunque progettiattiva enelle dallaaltre Home.organizzazioni Ila sistemacui mostraè ilassociata. numeroQuando diinvece istanzeviene coinvolterimossa primaun’utenza diinterna, procederequesta conviene laeliminata conferma.
Collegamenti
Last update: 1107 JuneMay 2026