
Create and manage Events
 English
  Italiano
 AAn groupEvent brings together users withallows the same role and permissions, allowing them to work on the same projects using a consistent set of operations.
Creating a group allows youplatform to group usersreceive and assigninterpret them ainformation role,(typically simplifyingJSON) permissionfrom managementexternal inproviders, linking it to a scalableplatform way.entity such as organizations, projects, objects, sensors, and devices.
To use events for sending notifications, you can configure the outputs from the Automations section.
Available only to users with backoffice permissions.permission. To create aan group, the role to whichevent, the groupentities willit must be linked to must already exist in the system.system: project, object, sensor, or device.
StepsCreate a new Event
1. AccessLog in to the Backoffice and clickopen the GroupsEvents insection from the left-side menu.menu.
The list shows the name, the linked entity, the linked automation, the creation date, associated projects, added users and linkeda role.button to copy the event URL.


2. Click the New Groupevent button in the top-right corner.


3. FillEnter the Event name and select the Linked to entity, both fields are required.
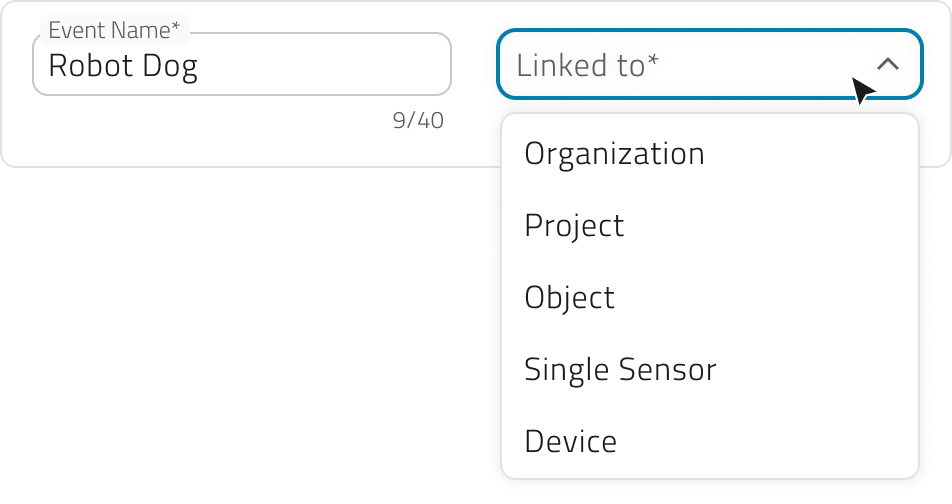
The available options are:
- Organization
For general events. - Project
For events specific to a single project. - Object
For events linked to a class and a single instance. - Single sensor
For events coming from a single sensor. - Device
For events generated by a set of sensors.
4. In the Mapping section, define how the incoming data should be interpreted.
If needed, load the sample payload: paste or upload a JSON file in the text box and click Confirm to generate the mapping keys.
Loading the JSON is not required, you can also fill in the fields manually.
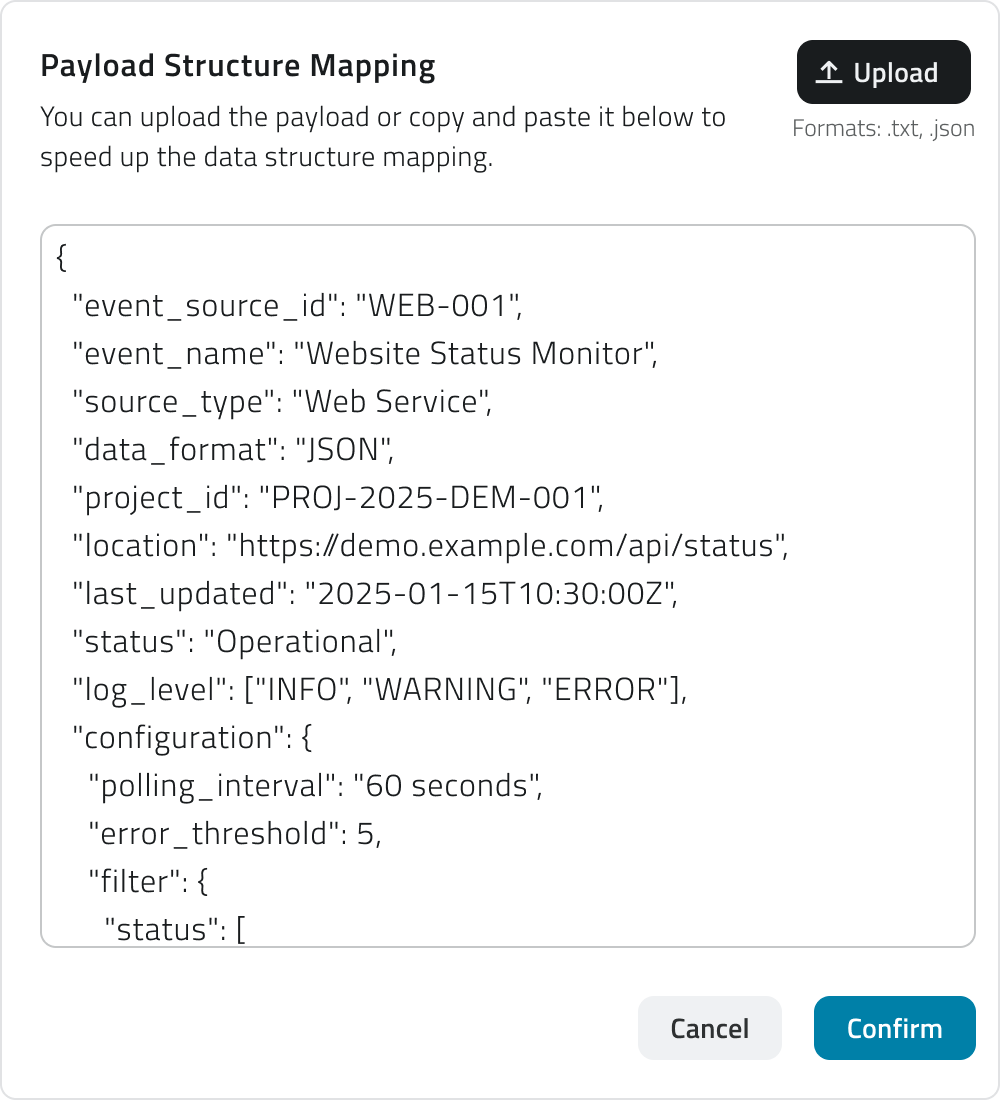
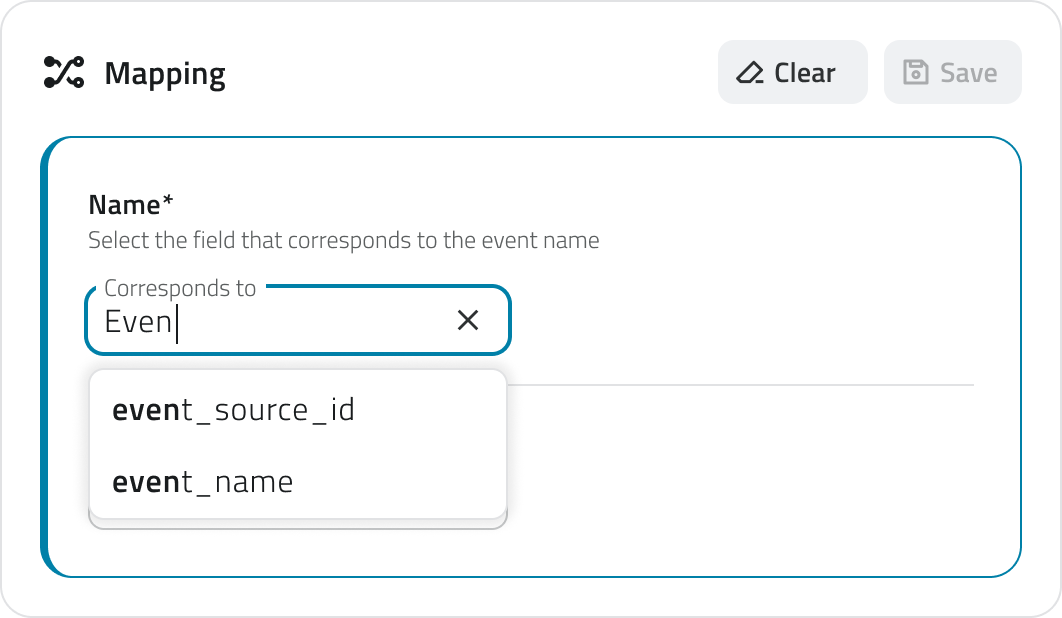
Then map the keys, associating the provider's keys with the fields required by the platform:
- Name (required)
The name of the event. Example:event_nameornotification_name. - Event ID (required)
Uniquely identifies the type of event. Example:event_idortype_code. - Time (required)
Indicates when the event occurs. Example:timestamporevent_time. - Levels (required)
Defines the type or severity of the event (info,warning,success,error). Each level can have a Displayed name, shown when hovering over the level icon. Example: a key likeseverityorstatusmapped to "warning". - Description (required)
Briefly explains the content or purpose of the event. Example:messageordetails. - Additional info (optional)
Adds supplementary data, each with an optional Displayed name. Example:temperature,battery_status,signal_strength.
Depending on the linked entity selected earlier, additional required fields (namemay and role):appear:
EnterProject ID
Links the event to auniqueproject.nameExample:inproject_id.- Object ID
Links the event to an object; theGroupobjectNameclassfield.must be selected first. Example:object_idorentity_ref. SelectSingle Sensor ID
Identifies theRoleto associate fromsensor thedrop-downeventmenu.comes

Name and Role are required to save.
4. Addsensor_id or removesensor_name.
users.The group configuration shows two lists: onIdentifies the leftare all users in the organization, while on the right are the users already added to the group.
To add users to the group, selectgrouping one or more namessensors. from the list on the left usingExample: Controldevice_idShiftcontroller_name
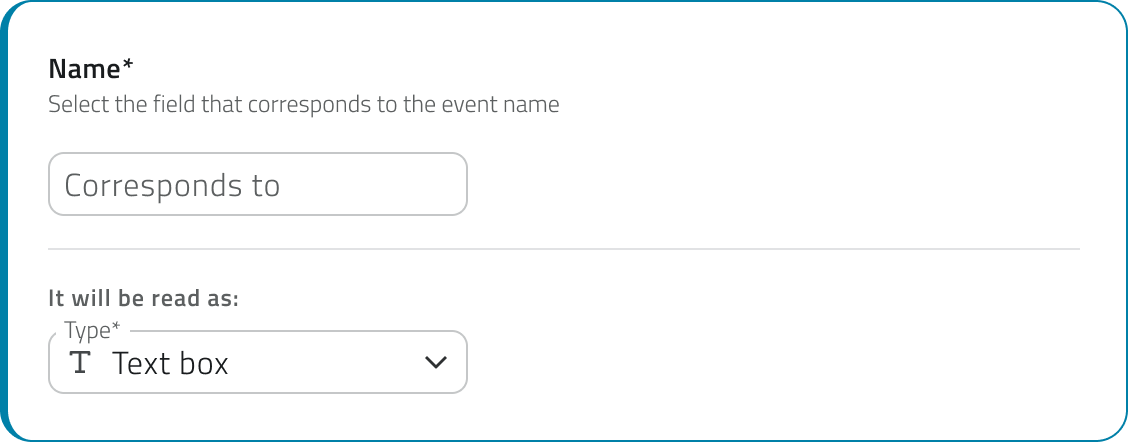
For each mapped key it is also possible to assign a type, which defines how the platform should interpret that value.
The available types are:
- Text field: for
multipletextselection,values. - Date:
dragselectablethemas date only or date and time. - Number: selectable as integer or decimal number.
- True/false: for boolean values.
The type assigned to theeach areafield oninfluences the right.conditions Holdavailable Control and click a name that is already selected to remove it fromin the selection.Automations section.
To5. remove users fromIf the grouppayload includes geographic data, selectit is possible to map the namescoordinates fromas well. Enable the listswitch onto configure how the rightplatform andshould drag them toread the listincoming on the left. To remove all added users, click Clearcoordinates.
Once enabled, you can choose the format in which the coordinates are transmitted by the provider:
- Single field
The coordinates are contained in a single field of the payload. Enter the field name in Corresponds to. - Double field
Latitude and longitude are transmitted in separate fields. Enter the respective names in the Latitude corresponds to and Longitude corresponds to fields.
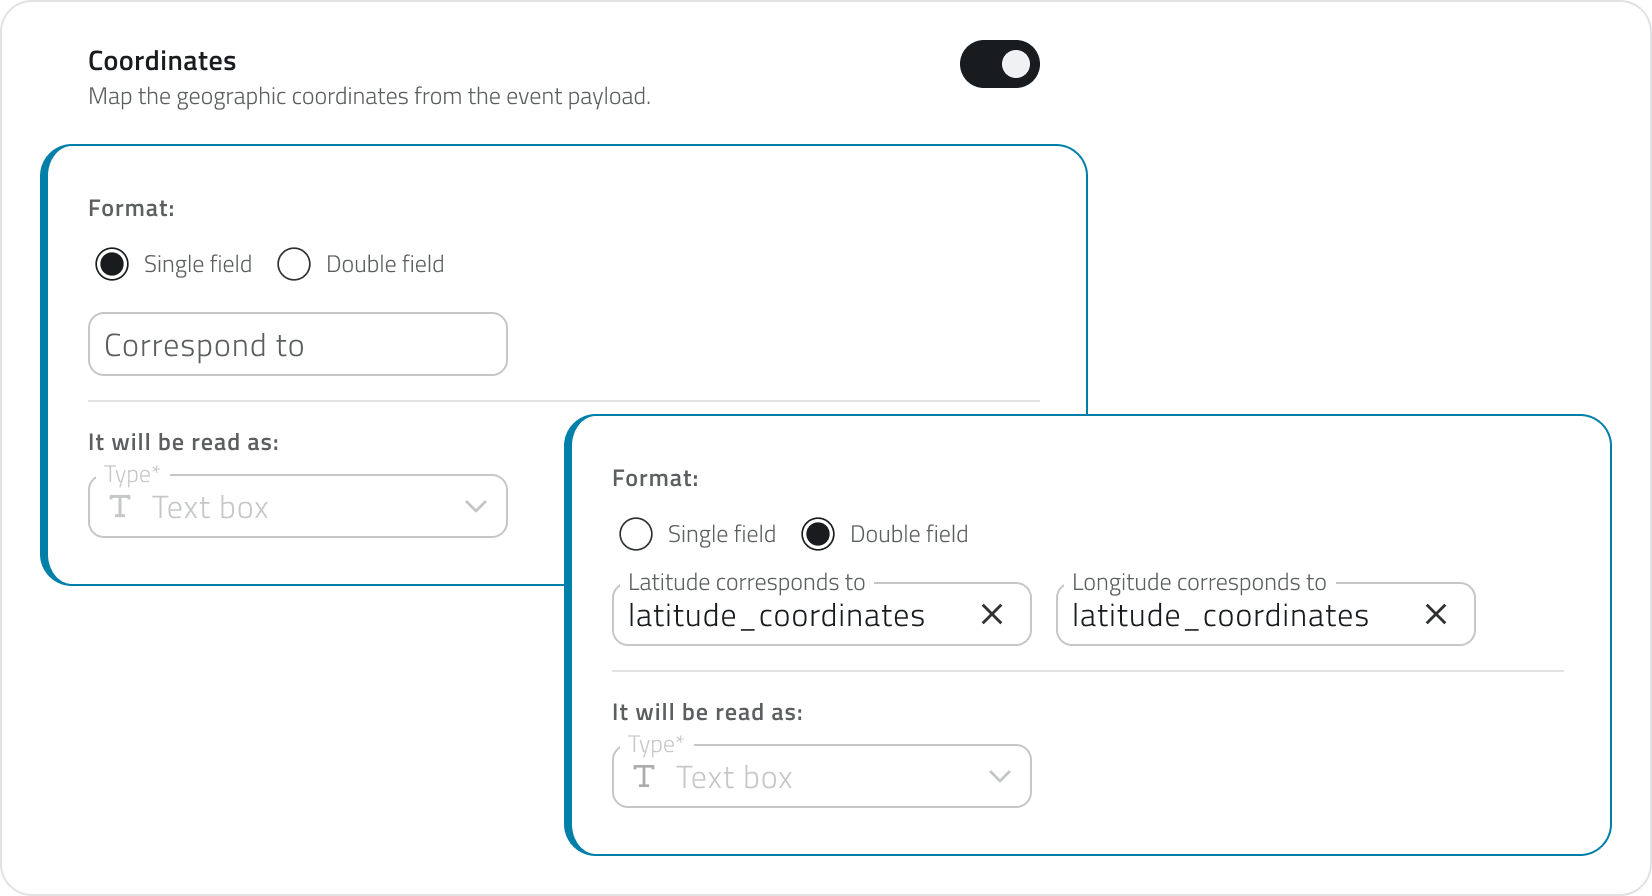
The Coordinates field is required to enable certain actions in 5.Automations, Savesuch as the newcreation groupof an object byof clickingtype Point or the launch of a robotic mission.
6. Click Save in the top-right cornercorner. (afterThe assigningbutton atremains leastdisabled oneuntil user).the name, the linked entity, and all required keys have been filled in.
💡Once saved, a TipURL link: Useappears in the searchlist. barThis tolink filtermust usersbe in both lists.
💡Tip: Make sure to assign only those users who need the same level of accessprovided to the projects.external provider to enable data transmission.
ViewingEdit and Editingmanage Groupsevents
To edit aan groupevent, click the blue button with the arrow icon that appears when you hoverhovering over the item.
To duplicate aan groupevent, select ana single item from the list.list, Oncethen selected,click the Duplicate button in the top-right corner.
To delete an event, select one or more items from the list, the Delete button will appear.appear in the top-right corner. Hold CTRL and click to add items to the selection or remove them from it.
To copy the URL of an event, use the dedicated button directly from the list.
💡 Tips:
- When duplicating an event, update the mapping keys if the target provider uses a different JSON structure.
- Use descriptive names for events to make them easier to identify in the list.
Links
Overview of users, roles and groupsIntroduction to Object ClassesCreate and manage Object Classes- Managing objects in the project
- Configure Data Sources and Charts
Crea e gestisci i gruppieventi
Un gruppoEvento raccoglieconsente utentialla conpiattaforma lo stessodi ruoloricevere e interpretare informazioni (tipicamente JSON) da provider esterni, collegandole a un'entità della piattaforma, come organizzazioni, progetti, oggetti, sensori e dispositivi.
Per usare gli eventi per permessil'invio di notifiche, consentendopuoi loroconfigurare digli lavorareoutput suglidalla stessisezione progetti con un set di operazioni coerenti.
Creare un gruppo serve a associare utentiAutomazioni e assegnare loro un ruolo, semplificando la gestione dei permessi in modo scalabile..
Disponibile solo per utenti con permesso backoffice. Per creare un gruppoevento è necessario che nel sistema siasiano già presentepresenti ille ruoloentità a cui il gruppol’evento deve essere collegato.collegato: progetto, oggetto, sensore o dispositivo.
PassaggiCreare un nuovo evento
1. Accedi al Backoffice e cliccaapri sula sezione GruppiEventi neldal menu sul latolaterale sinistro.
La lista mostra il nome, l'entità collegata, l'automazione collegata, la data di creazione, progetti associati, utenti aggiunticreazione e ilun ruolobottone collegato.per copiare l'URL dell'evento.
2. Clicca sul pulsantesu Nuovo gruppoevento in alto a destra.
3. CompilaInserisci il Nome evento e seleziona l'Entità collegata, entrambi i campi obbligatorisono (nomeobbligatori.
Le opzioni disponibili sono:
InserisciOrganizzazione
Per eventi generali.- Progetto
Per eventi specifici di un singolo progetto. - Oggetto
Per eventi legati a una classe e a una singola istanza. - Sensore singolo
Per eventi provenienti da un singolo sensore. - Dispositivo
Per eventi generati da un insieme di sensori.
4. Nella sezione Mapping definisci come i dati in arrivo devono essere interpretati.
Se lo ritieni necessario, carica il payload di esempio: incolla o carica un file JSON nella casella di testo e clicca Conferma per generare le chiavi di mappatura.
Inserire il JSON non è obbligatorio, puoi inserire i campi anche manualmente.
Poi mappa le chiavi, associando le chiavi del provider ai campi richiesti dalla piattaforma:
- Nome (obbligatorio)
Il nome dell'evento. Esempio:event_nameonotification_name. - Event ID (obbligatorio)
Identifica in modo univoconelilcampotipo di evento. Esempio:event_idotype_code. - Tempo (obbligatorio)
Indica il momento in cui l'evento si verifica. Esempio:timestampoevent_time. - Livelli (obbligatorio)
Definisce la tipologia o gravità dell'evento (info,warning,success,error).
Ogni livello può avere un Nomegruppovisualizzato, visibile passando il cursore sull'icona del livello. Esempio: una chiave comeseverityostatusmappata su "warning". SelezionaDescrizione (obbligatoria)
Spiega brevemente il contenuto o lo scopo dell'evento. Esempio:messageodetails.RuoloInformazioni aggiuntiveda(facoltativo)
Aggiungeassociaredatitramitesupplementari,ilciascunomenuconauntendina.Nome visualizzato opzionale. Esempio:temperature,battery_status,signal_strength.
Nome
In base all'entità colegata selezionata precedentemente, potrebbero aggiungersi ulteriori campi obbligatori:
-
Project ID
Collega l'evento a un progetto. Esempio:project_id. -
Object ID
Collega l'evento a un oggetto; è necessario selezionare prima la classe oggetto. Esempio:object_idoentity_ref. -
Single Sensor ID
Identifica il sensore da cui proviene l'evento. Esempio:sensor_idosensor_name. -
Device ID
Identifica il dispositivo che raggruppa uno o più sensori. Esempio:device_idocontroller_name.
Per ogni chiave mappata è inoltre possibile assegnare una tipologia, che definisce come la piattaforma deve interpretare quel valore.
Le tipologie disponibili sono:
- Campo di testo: per valori testuali.
- Data: selezionabile come solo data o come data e
Ruoloora. - Numero: selezionabile come numero intero o numero reale.
obbligatoriVero/falso: perilvalorisalvataggio.booleani.
La tipologia assegnata a ciascun campo influenza le condizioni disponibili nella sezione Automazioni.
4.
5. rimuoviSe gliil utenti.Lapayload configurazione del gruppo mostra due liste: ainclude sinistradati sono disponibili tutti gli utenti dell’organizzazionegeografici, mentreè apossibile destramappare anche le coordinatesono. presentiAttiva glilo switch per configurare come la piattaforma deveutenti giàleggere aggiuntile alcoordinate gruppoin arrivo.
Una volta attivato, puoi scegliere il formato con cui le coordinate vengono trasmesse dal provider:
- Campo singolo
Le coordinate sono contenute in un unico campo del payload. Inserisci il nome del campo in Corrisponde a. - Doppio campo
Latitudine e longitudine sono trasmesse in campi separati. Inserisci i rispettivi nomi nei campi Latitudine corrisponde a e Longitudine corrisponde a.
Il campo Coordinate è necessario per abilitare alcune azioni nelle Automazioni, come la creazione di un oggetto di tipo Punto o l'avvio di una missione robotica.
6. Per aggiungeresalvare, utenticlicca Salva in alto a destra. Il bottone rimane disabilitato finché non sono compilati il nome, l'entità collegata e tutte le chiavi obbligatorie.
Una volta salvato, nella lista compare un link URL che deve essere fornito al gruppoprovider esterno per abilitare l'invio dei dati.
Modificare e gestire gli eventi
Per modificare un evento, clicca sul bottone blu con l'icona freccia che compare passando il mouse sull'elemento.
Se vuoi duplicare un evento, seleziona un singolo elemento dalla lista, poi clicca il bottone Duplica in alto a destra.
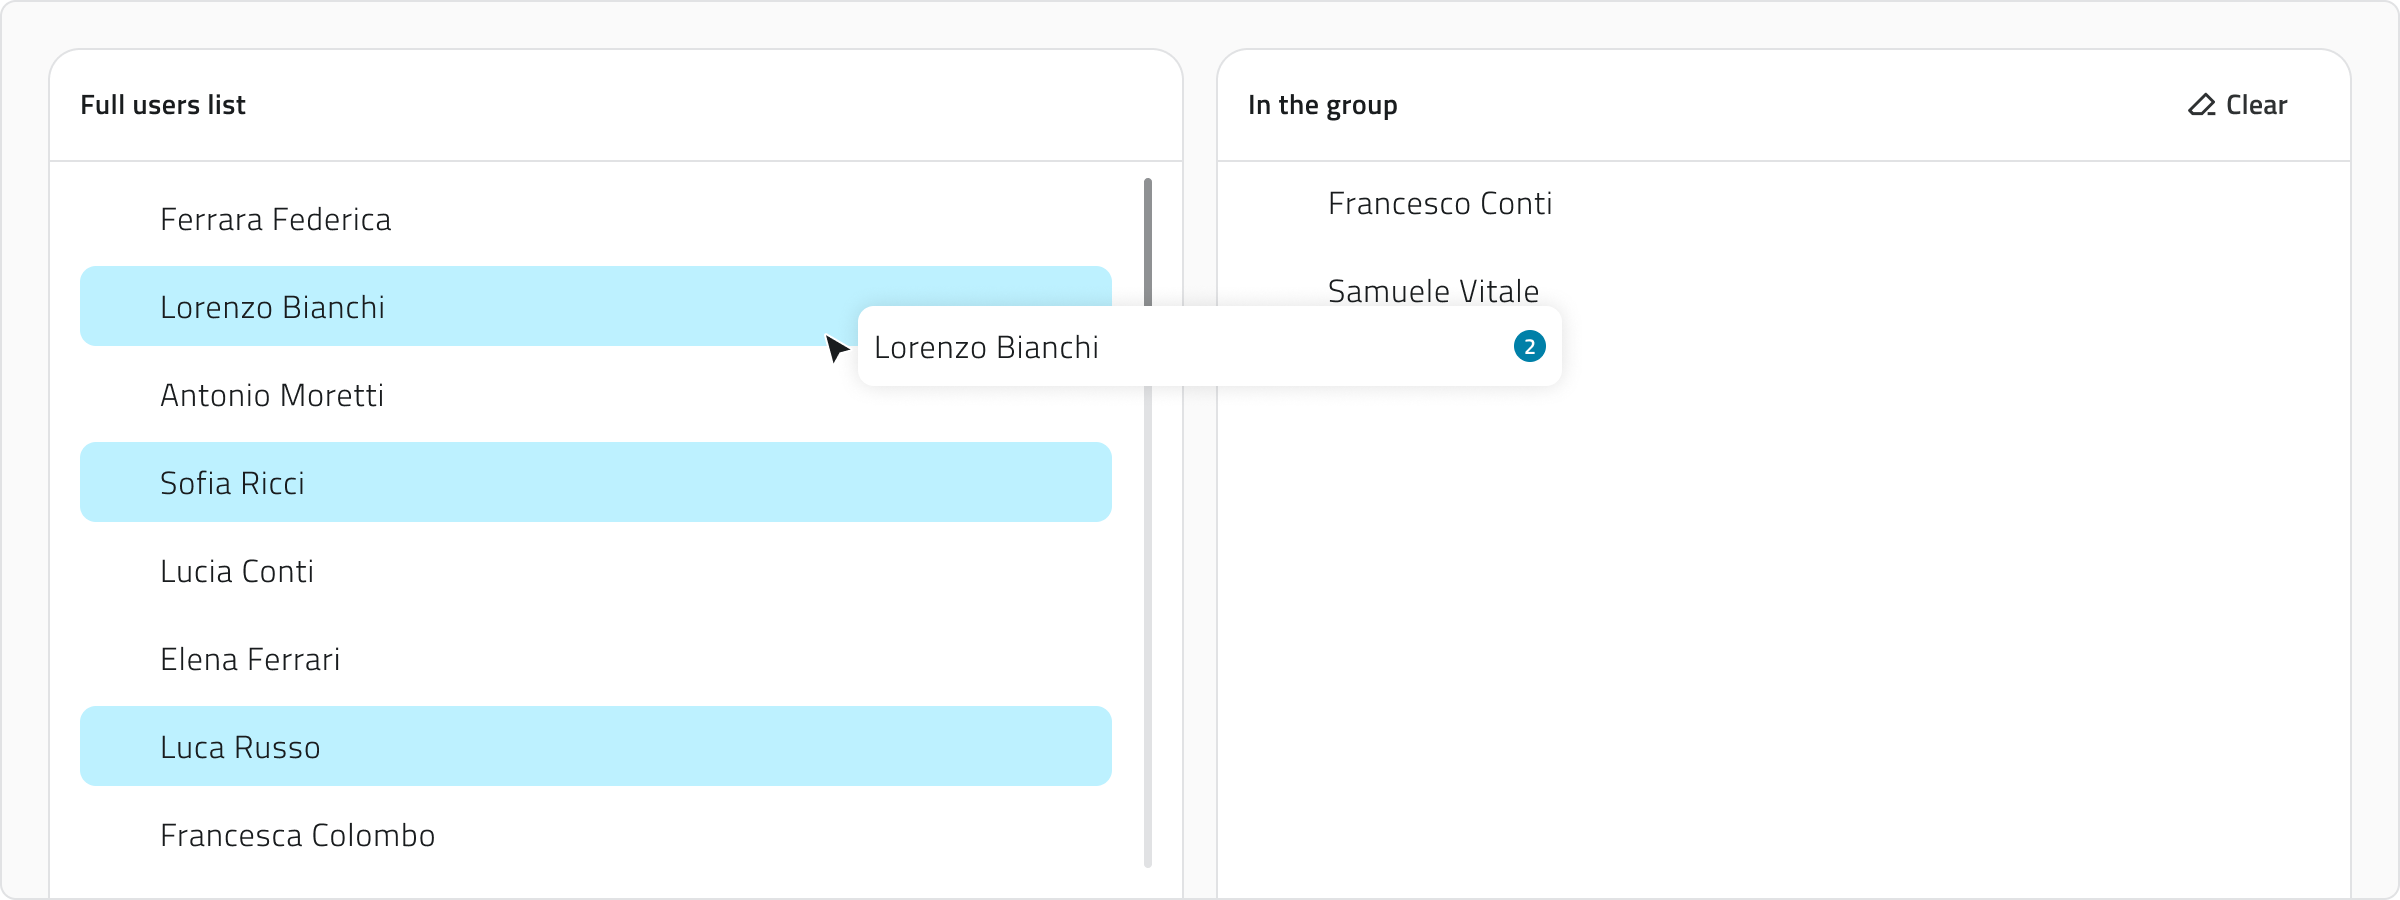
Per eliminare un evento, seleziona uno o più nominativielementi dalla listalista: a sinistra usando Control o Shift per le selezioni multiple, quindi trascinali nell’area a destra. Con Control + clic su un nominativo già selezionato lo togli dalla selezione.
Per rimuovere utenti dal gruppo, seleziona i nominativi dalla lista a destra e trascinali nella lista a sinistra. Per rimuovere tutti gli utenti aggiunti, clicca Cancella.
5. Salvacomparirà il nuovo gruppo cliccandobottone SalvaElimina in alto a destradestra. (dopoTieni averpremuto assegnatoCTRL almenoe clicca per aggiungere elementi alla selezione o toglierli.
Per copiare l'URL di un utente).evento, usa il bottone apposito direttamente dalla lista.
💡 SuggerimentoSuggerimenti::
- Quando
barraduplichi un evento, aggiorna le chiavi diricercamappatura se il provider di destinazione ha una struttura JSON diversa. - Usa nomi descrittivi per
filtraregliutentieventiinperentrambe le liste.💡Suggerimento: Assicurati di assegnare solo gli utenti che devono avere lo stesso livello di accesso ai progetti.Visualizzazione e Modifica dei GruppiPer modificare un gruppo, clicca sul pulsante blu con l’icona di una freccia, che appare al passaggio del mouse sull’elemento.
nella lista.Per duplicare un gruppo, seleziona un elemento dalla lista. Dopo la selezione, comparefacilitarne ilpulsantericonoscimentoDuplica.
Collegamenti
Panoramica utenti, ruoli e gruppiIntroduzione alle Classi OggettoCreare e gestire le Classi Oggetto- Gestire gli oggetti nel progetto
- Configurare Sorgenti dati e Grafici
Last update:update: 0726 May 2026